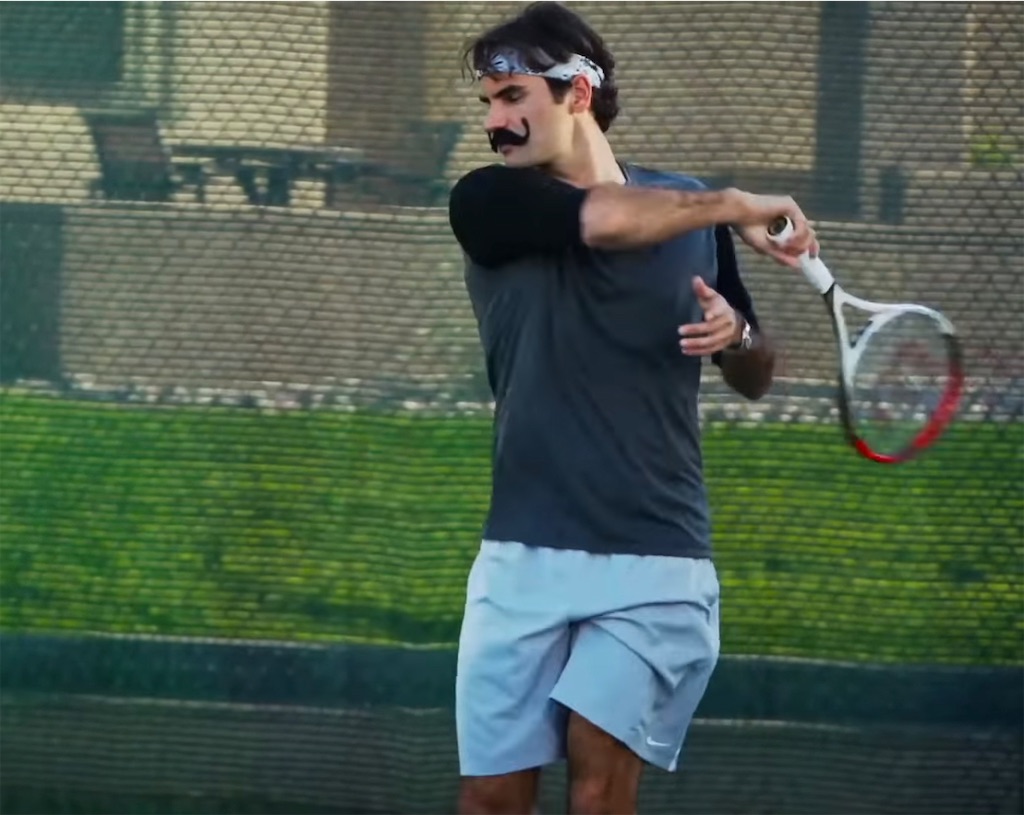
R. Federer's study
Introduction
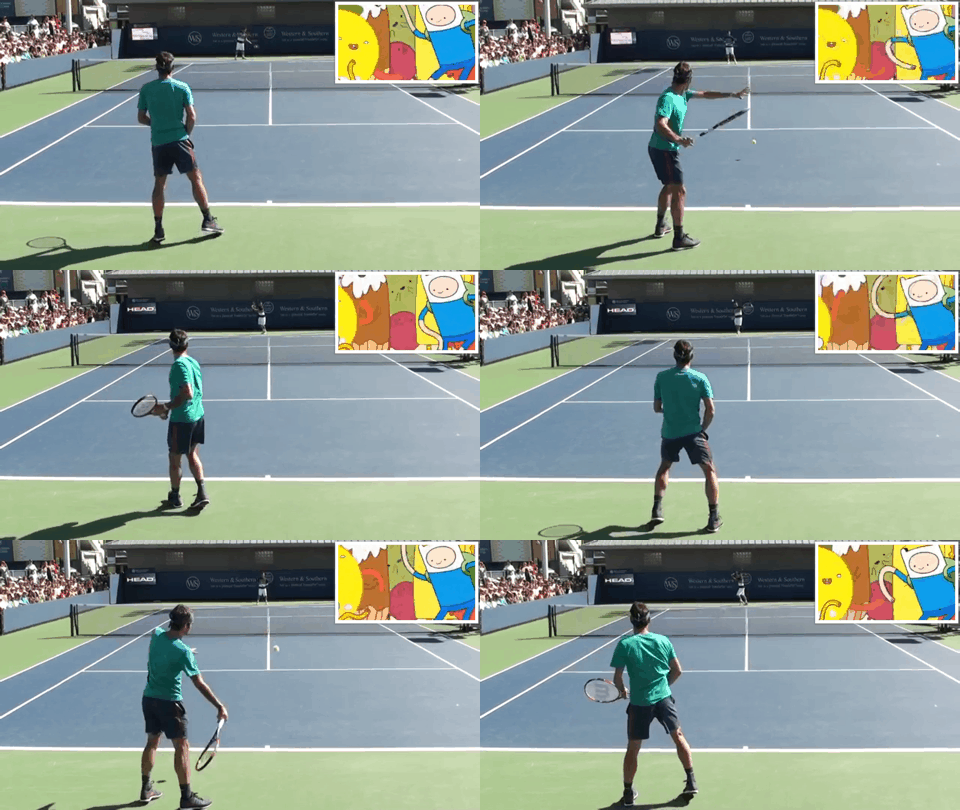
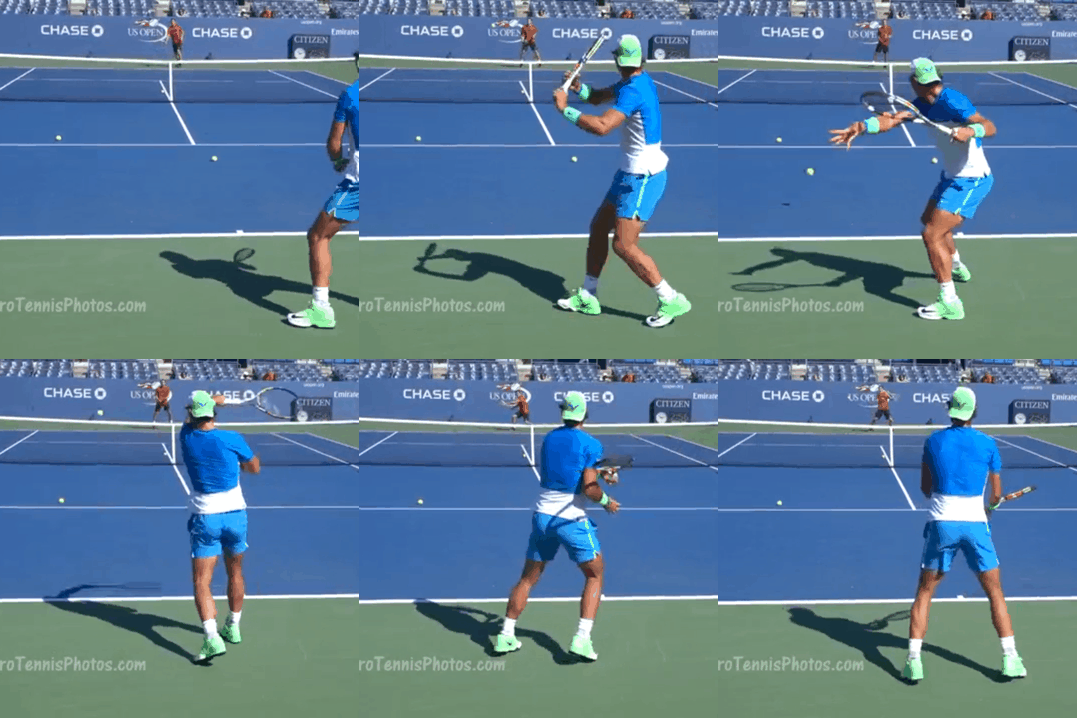
The most rational moves to learn from top professionals
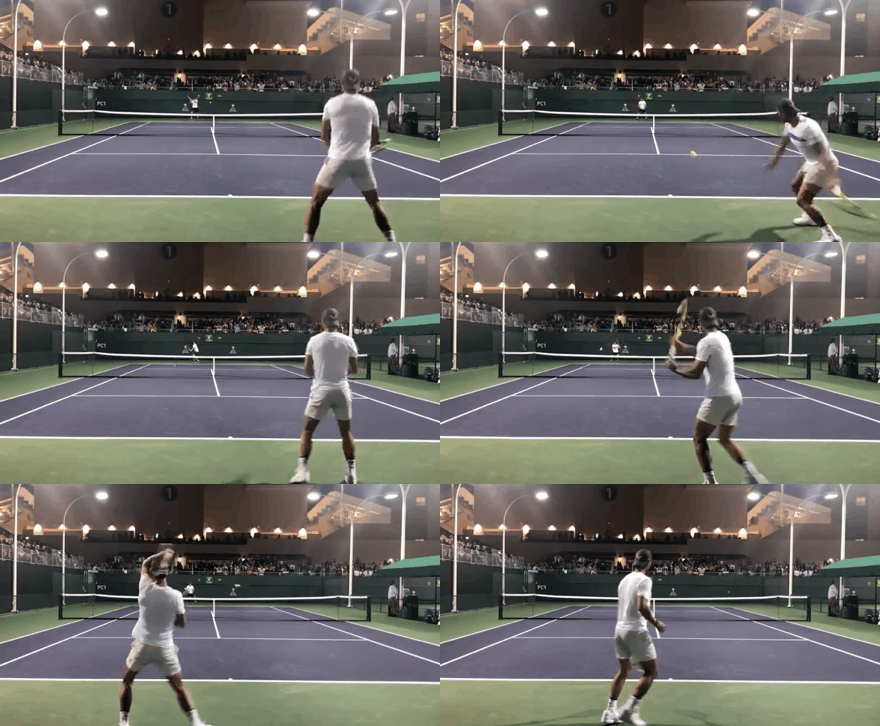
The movement of Federer Nadal's movement is a little different from the form image that is traditionally held.
I am using the look-back action to hit the ball with the least amount of exercise. The power and speed of the ball after leaving the racket is wonderful. If you think you hit the racket, the ball is already in your opponent's hand, so it's difficult to predict the landing point.
At the age of 38 (2019), Roger Federer, a tactical pro who has won the highest total of 20 Grand Slam tournaments in history. I don't think I've come to this point without thinking about how to hit, which is the basis of everything.
Generally speaking, Federer Strike is said to be “difficult to imitate” and many give up with the reason that “normal body making is different”, but the truth is the opposite. It is an effective way to hit because the body is poor.
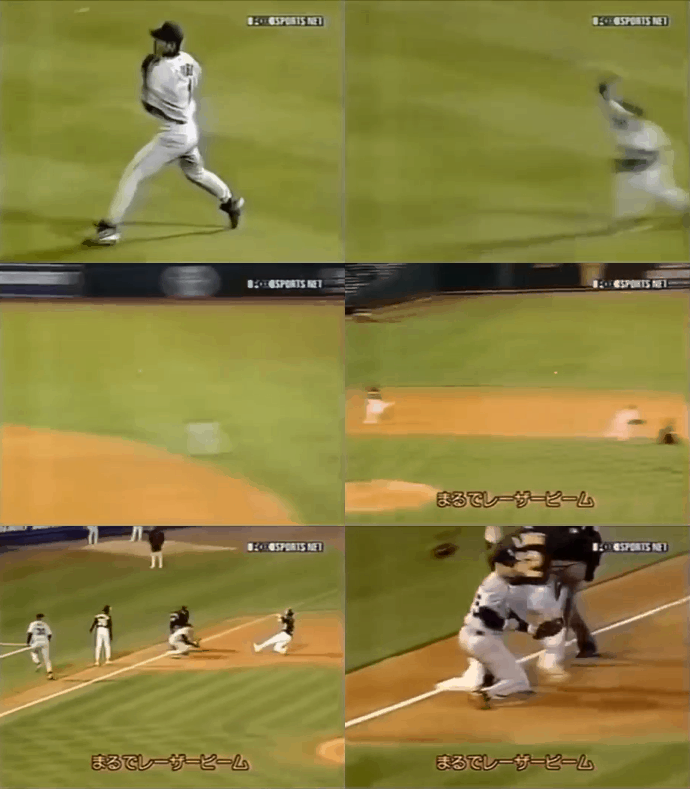
It is a hitting method that was born based on the same idea as Ichiro's baseball load theory.

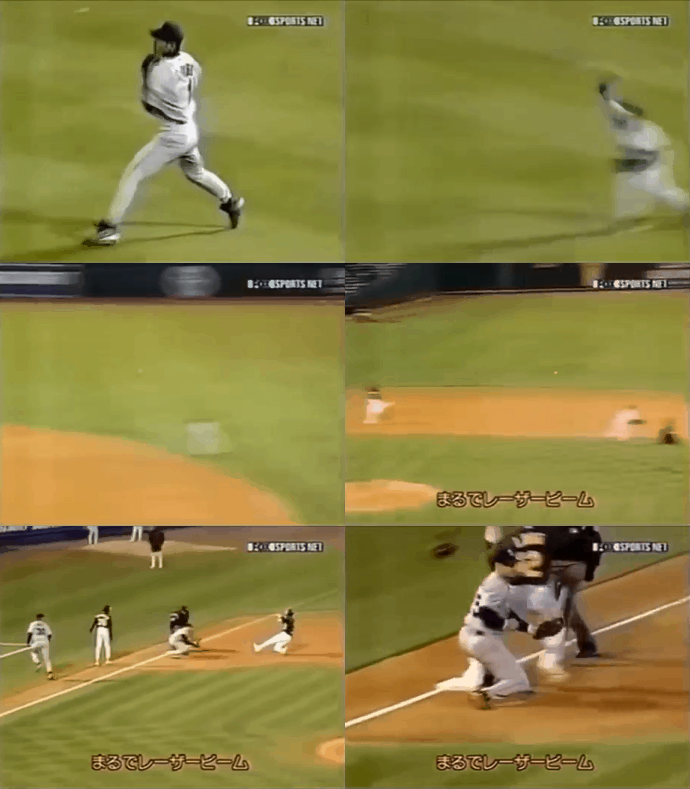
Ichiro says, "I don't agree with muscular workouts to get bigger. Lions don't." The "initial load theory" performed by the professionals and top professionals is "how to use the body" to use the muscle strength of one's own way effectively and super efficiently.
Just because someone says, "He's special, you don't want to imitate him," doesn't mean he's a detour without looking at valuable professional references. By looking at and learning how to use their bodies, you can get hints to find the [body usage] that suits you best.
“Most professional baseball players get injured and then heal, but what's important is to make regular adjustments to prevent injury. It's too late to get injured,” said Ichiro. As you can see, how to improve without injury is an important theme of this page.
Now let's take a closer look at the top professional's [how to use the body].
Notes
On this page, while explaining the mechanical details, the feeling of "what kind of image should be used to get closer to the movement and result (shot) of the top professional" is shown.
Please consider making tennis foam on a mechanical basis to understand physical phenomena, and then put them into your senses to understand them.
When looking at moving images (GIF images), imagine your body reproducing the same movement.
Also, 90% of this page is about right-handed forehand. Please assume that you are explaining forehand.
If you understand the structure of the forehand, you will be able to use it for backhand, volley, and serve.
Basic posture

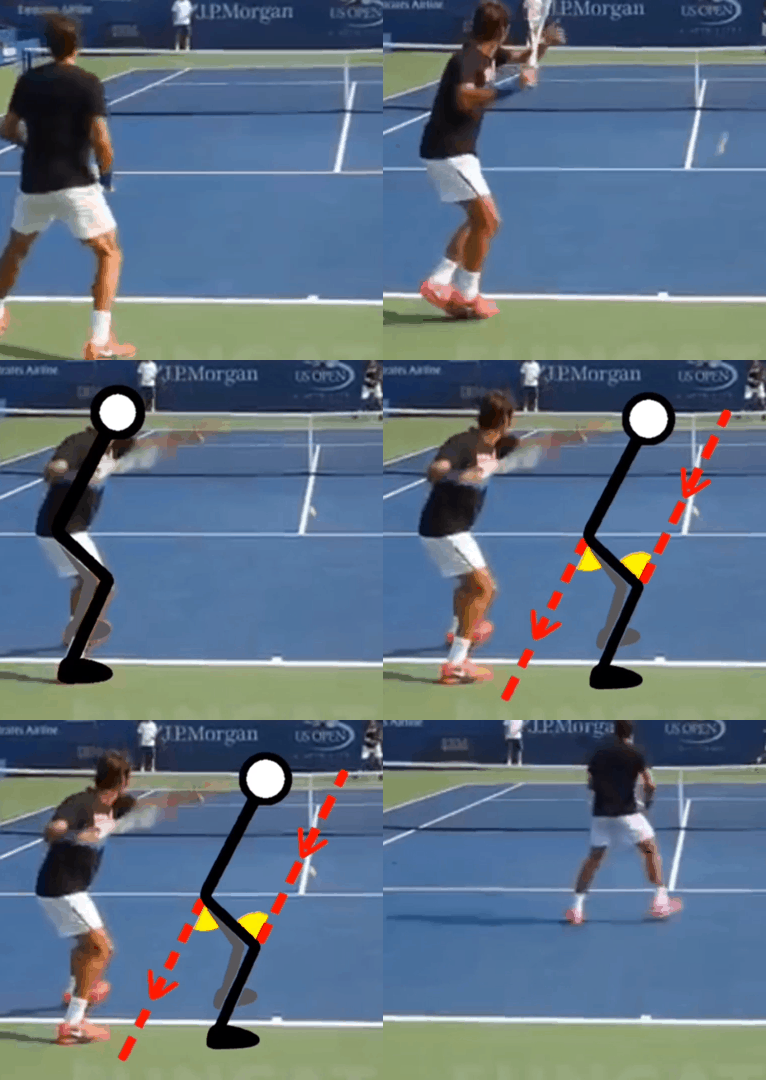
I will introduce how to take a basic posture. It is a form that should be remembered by the body before learning footwork.
It is a posture that is the source of power, so make sure to check it firmly.
Looking back action
First of all, get an image of the movement of the whole body.
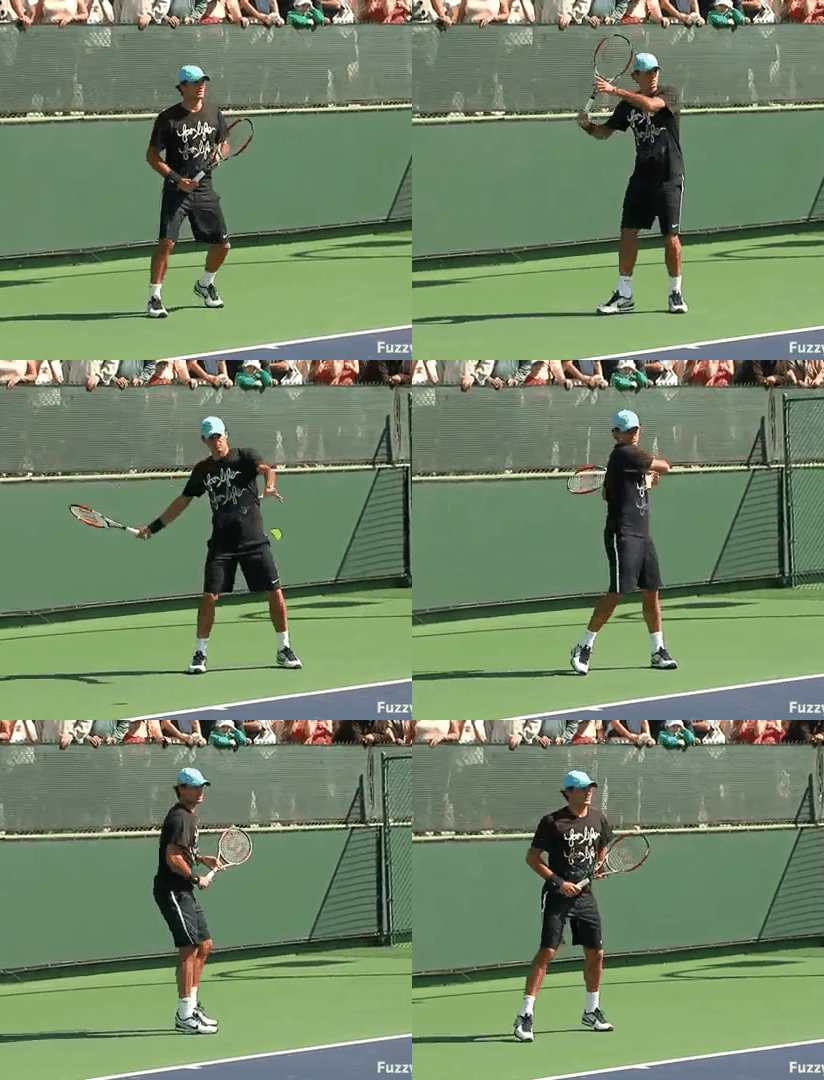
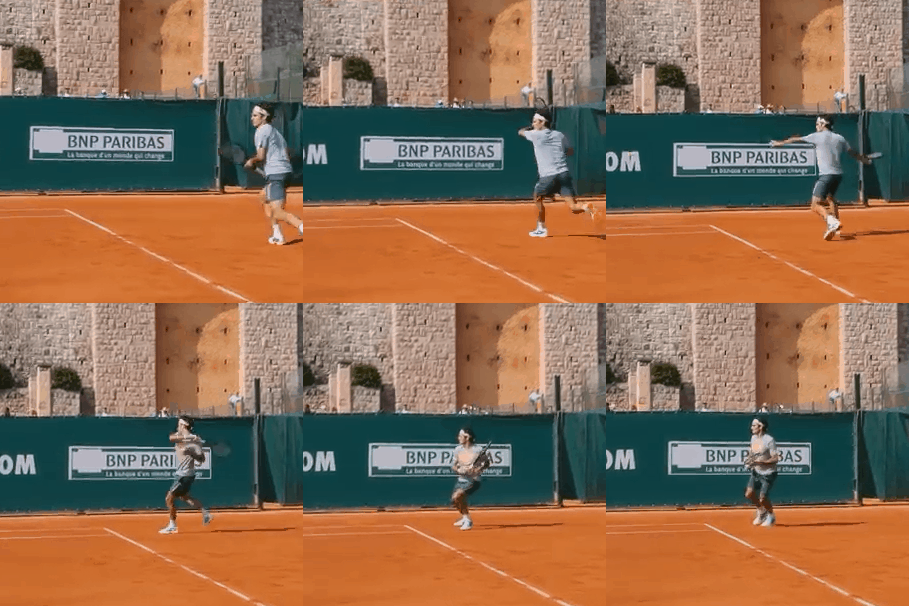
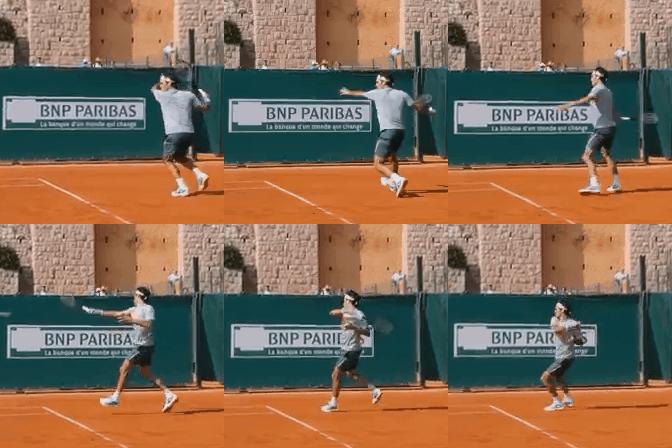
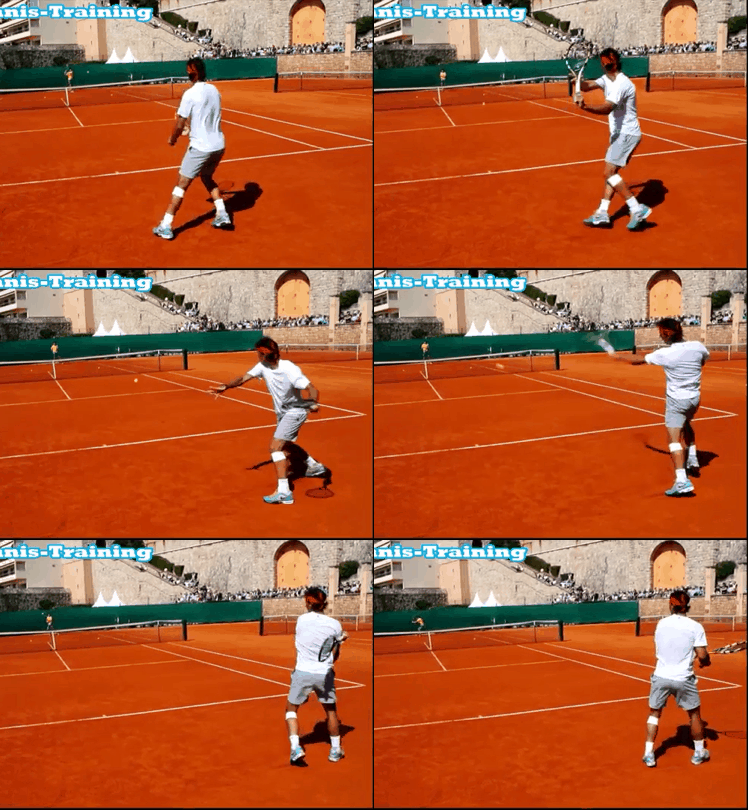
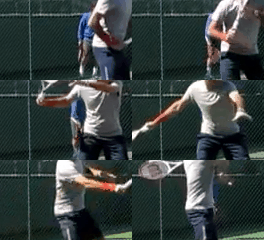
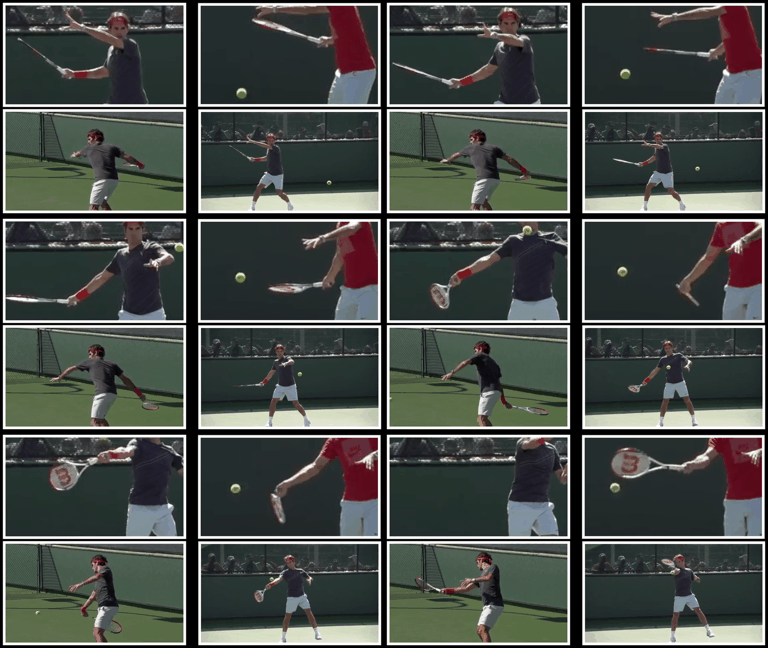
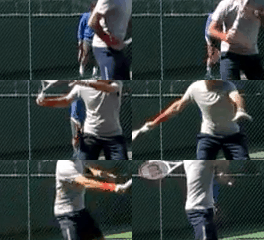
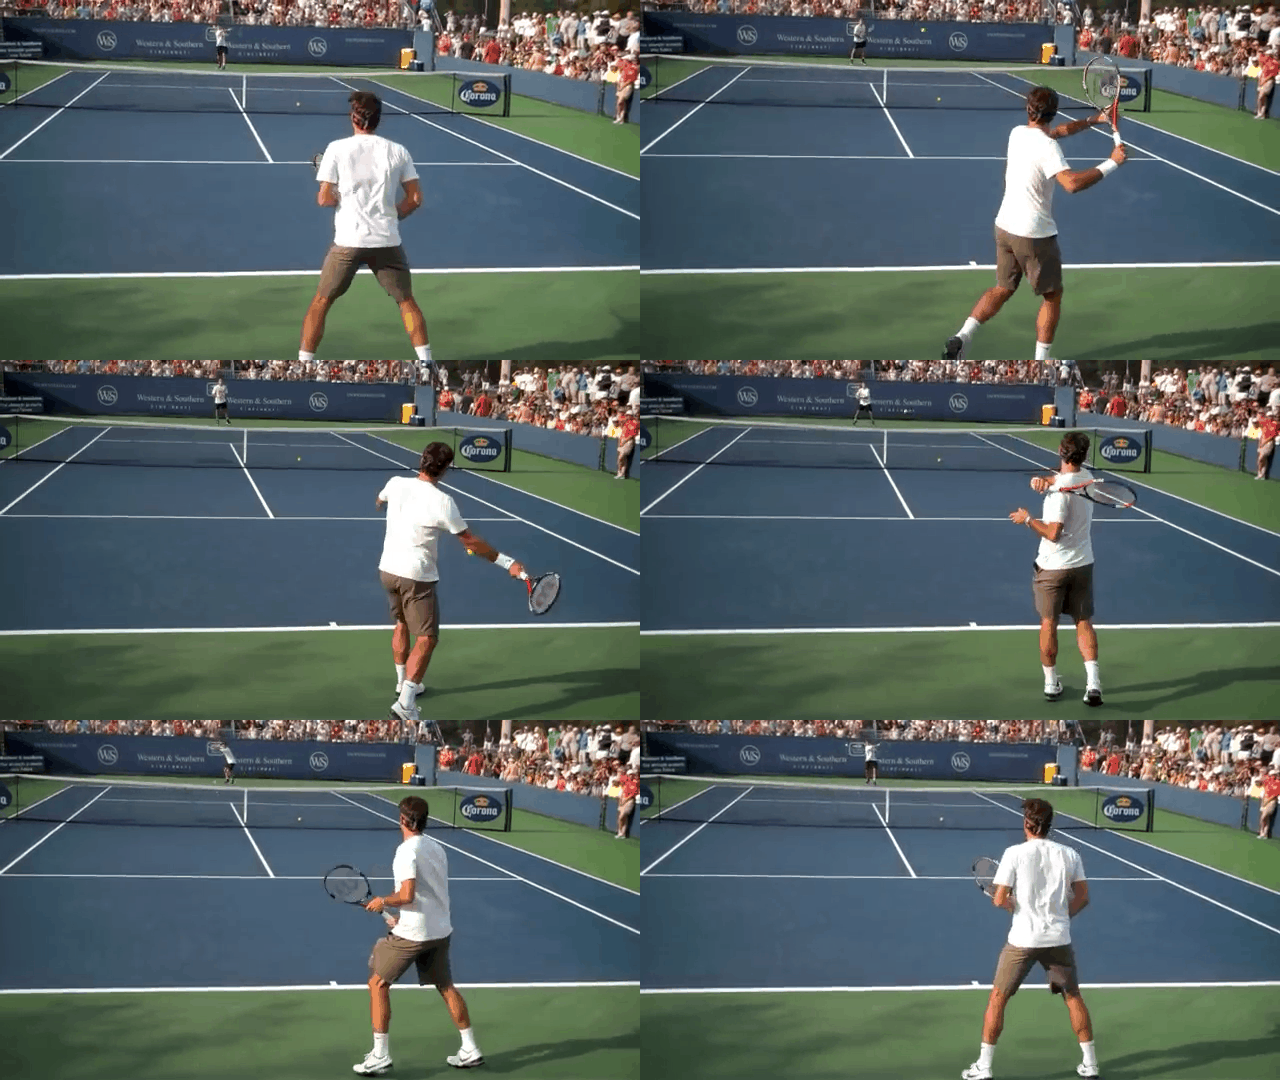
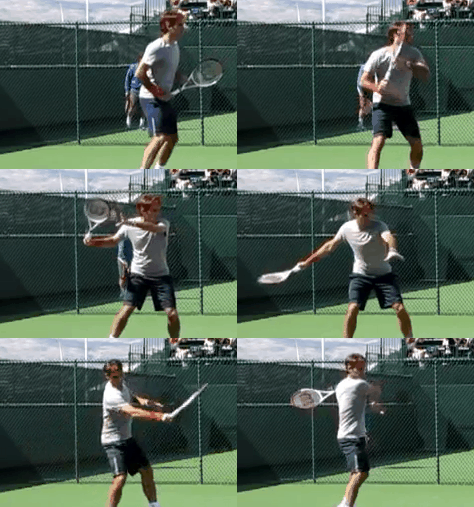
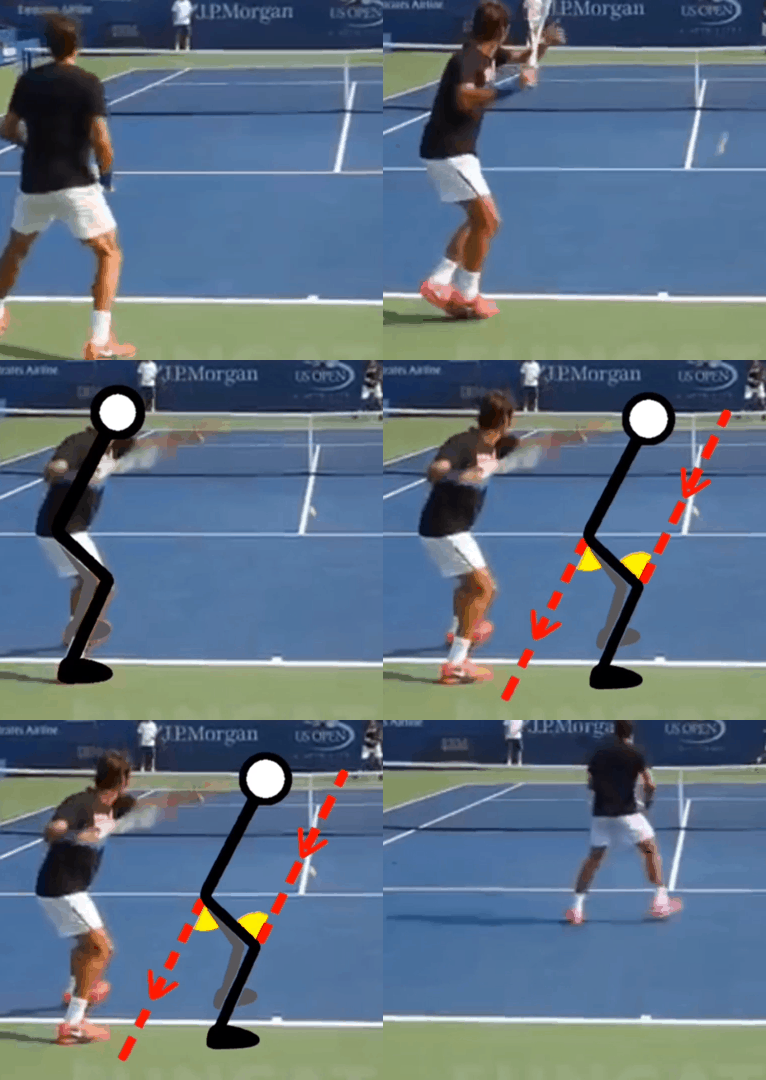
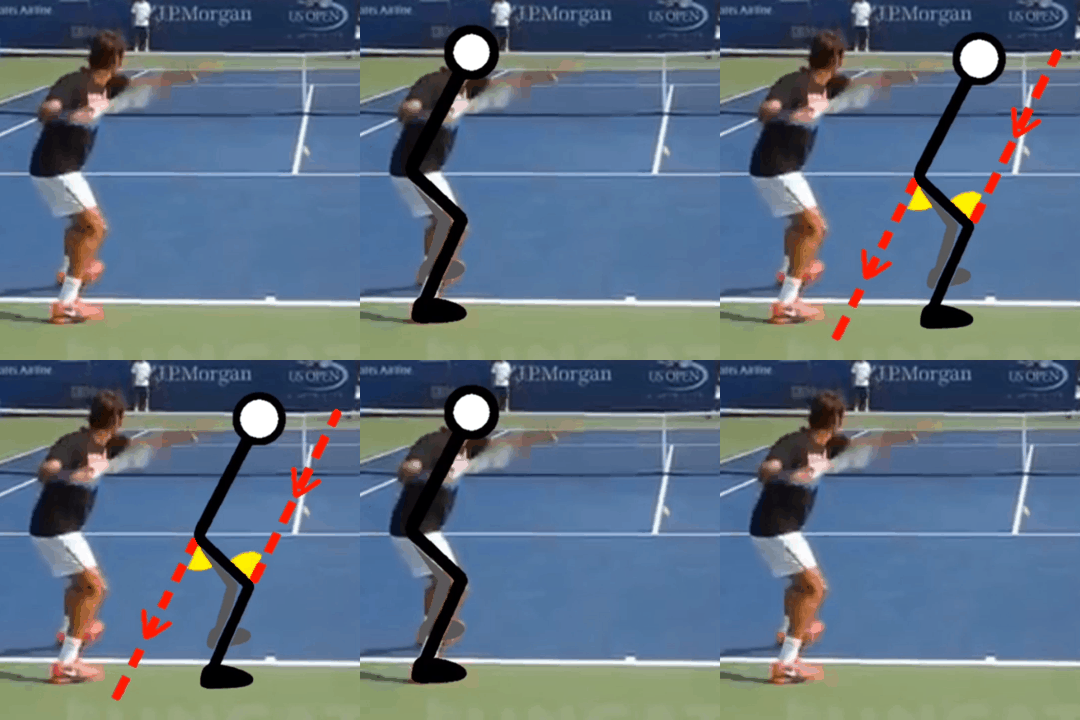
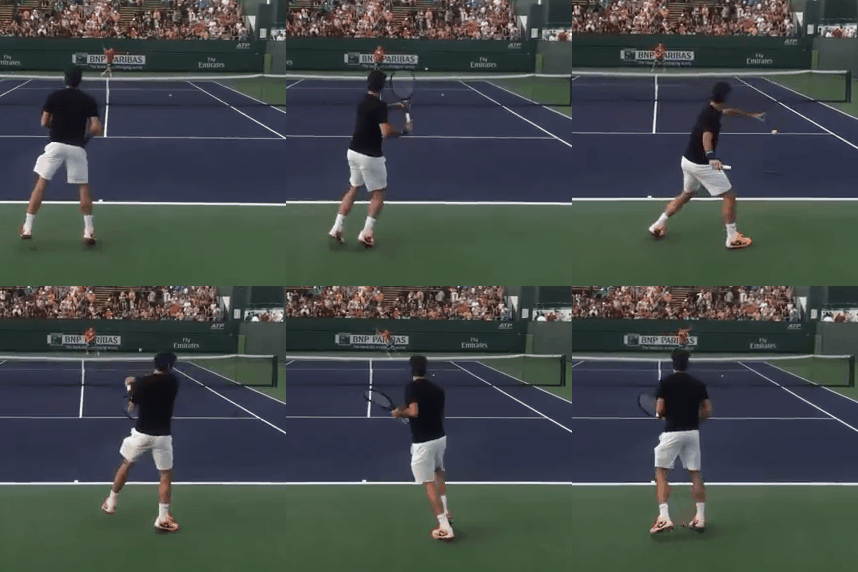
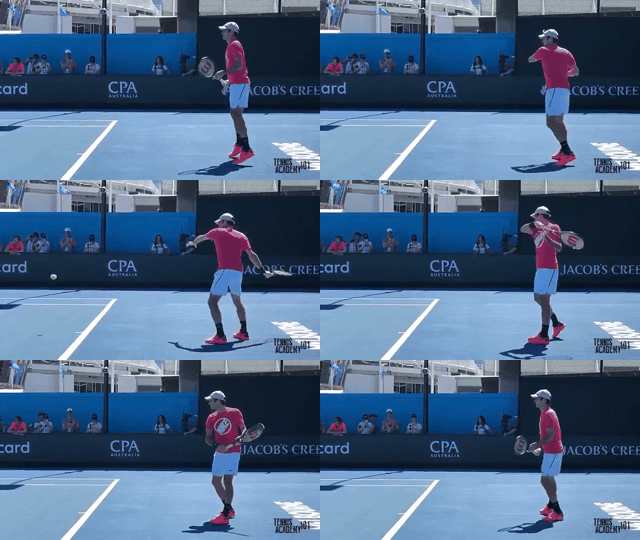
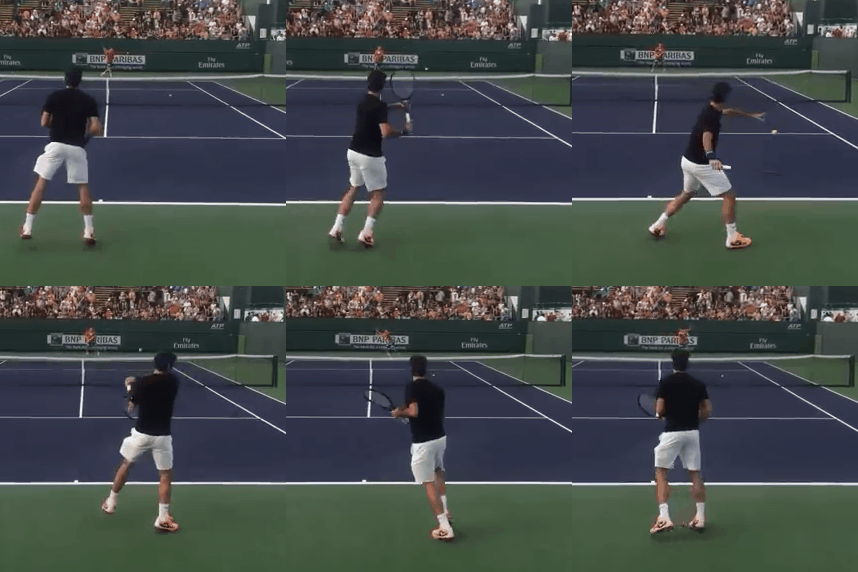
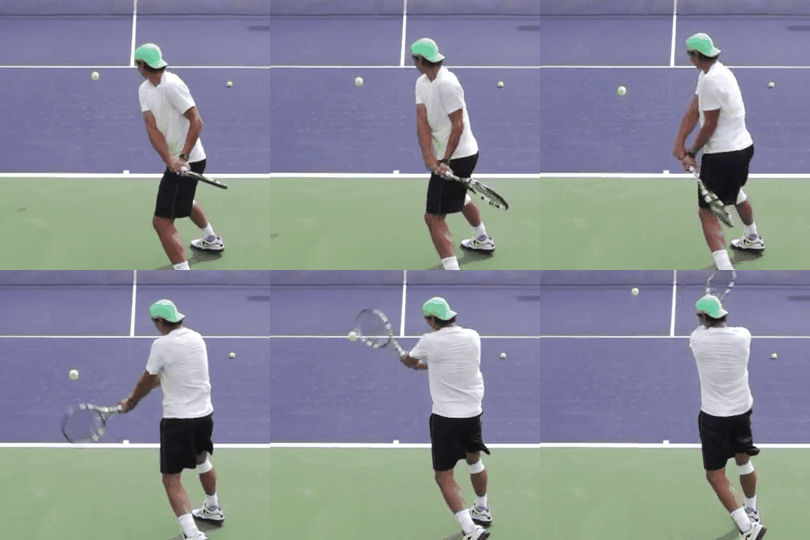
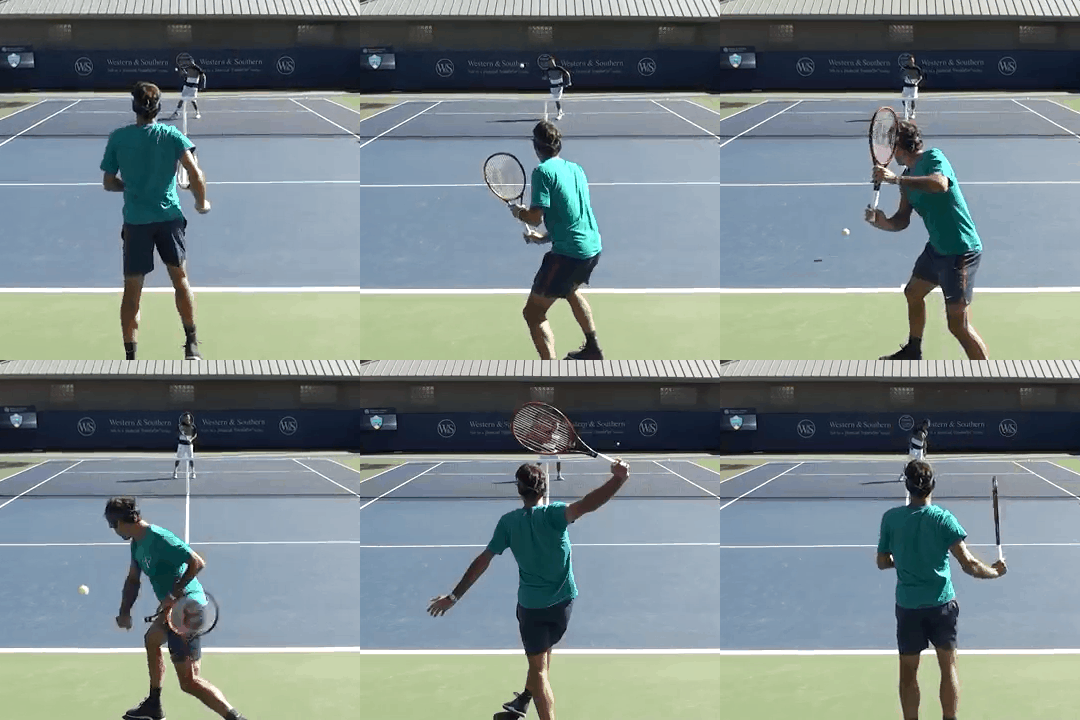
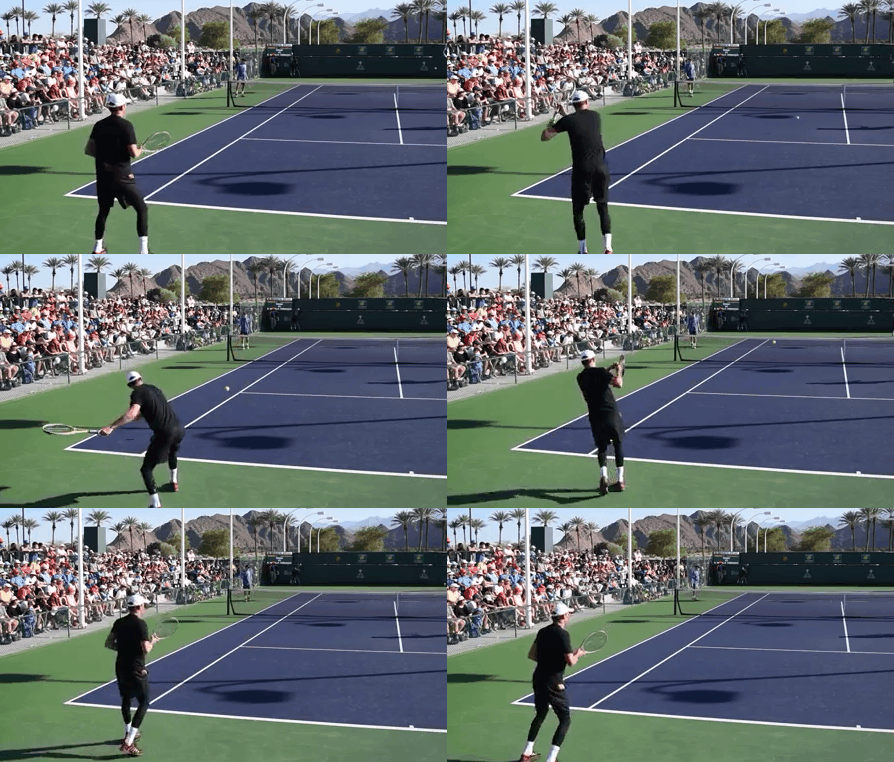
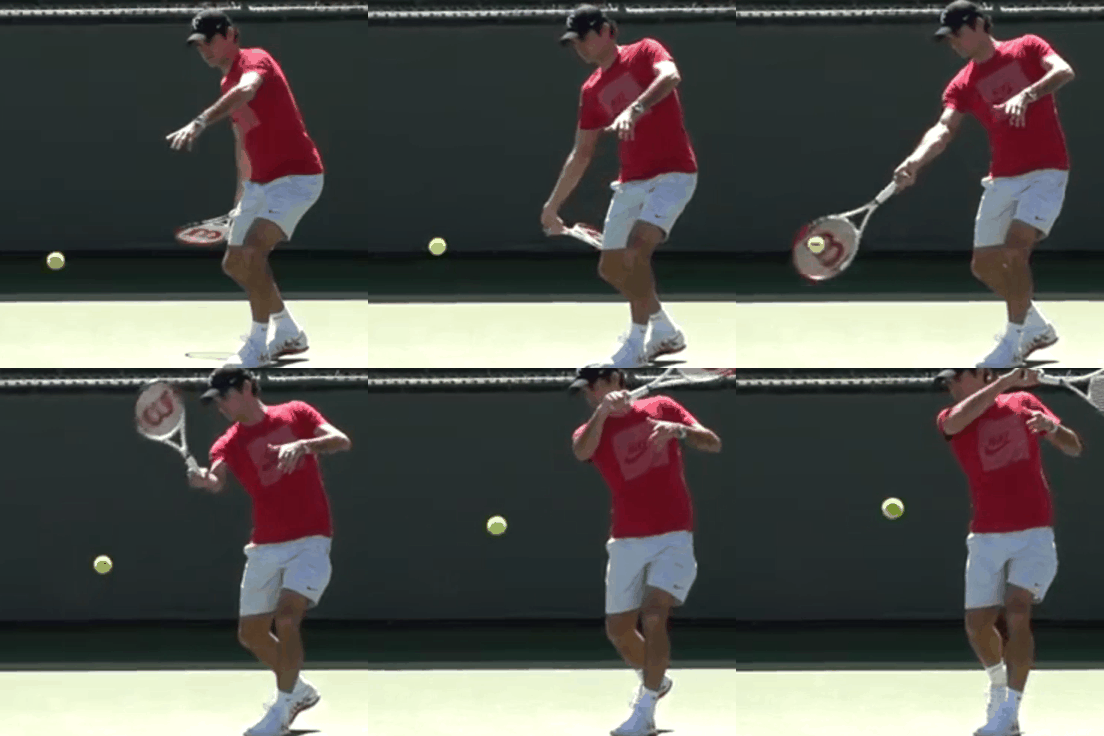
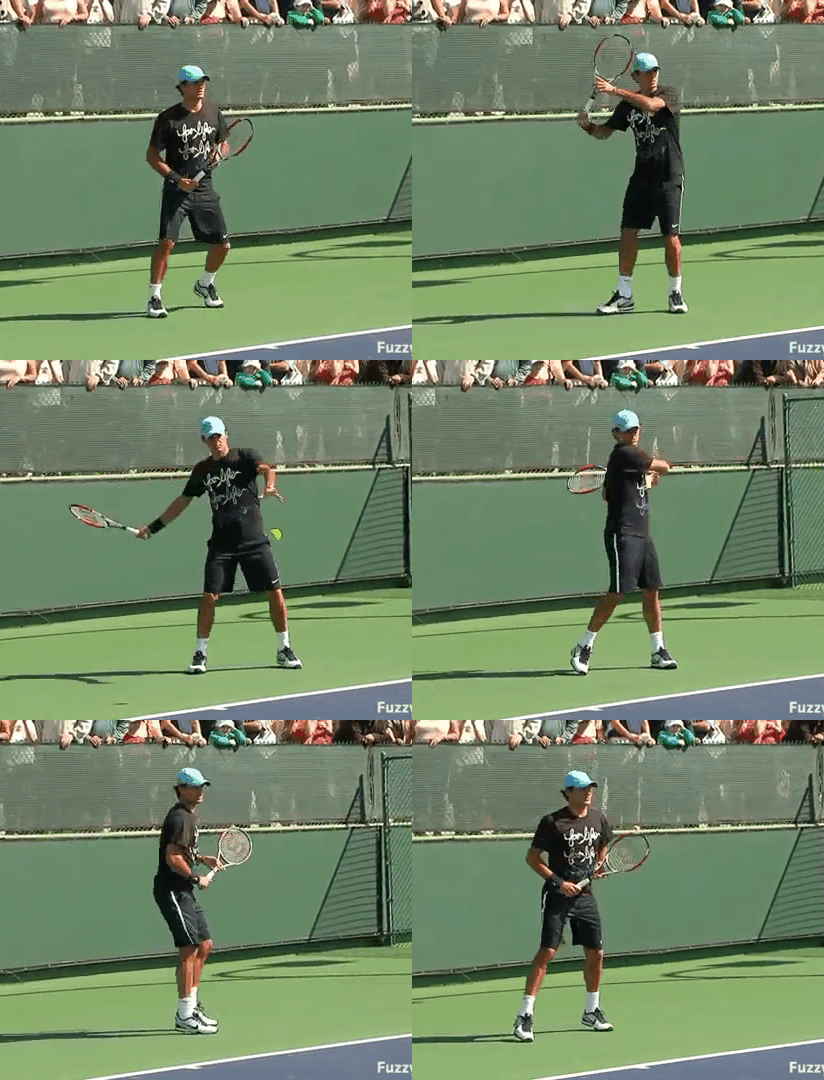
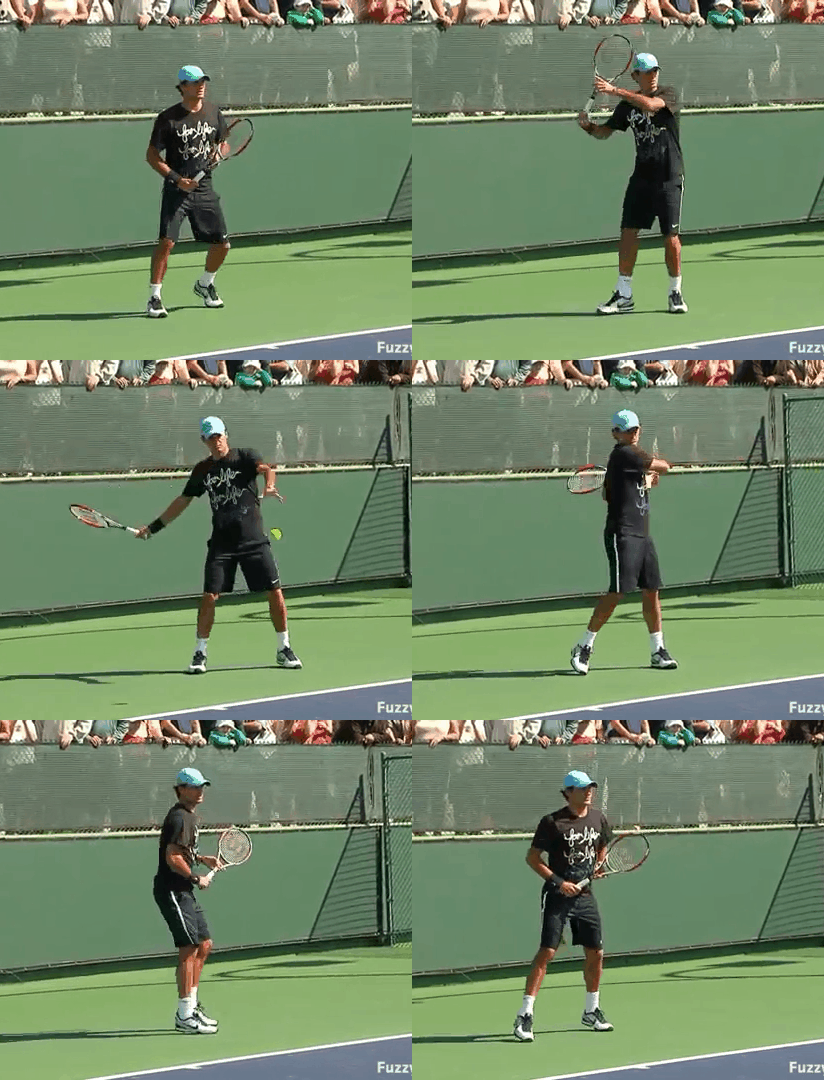
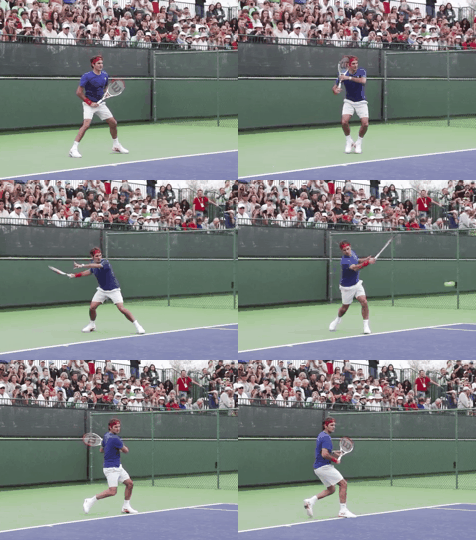
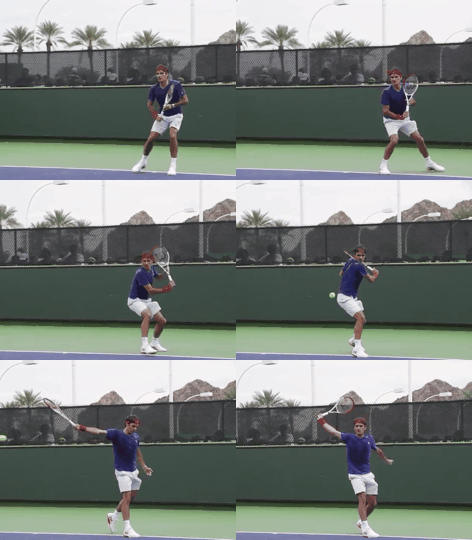
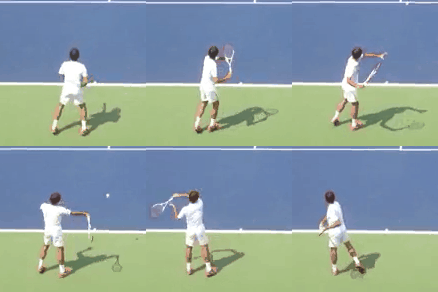
Start by showing your left shoulder to the other person. Show your opponent as hard as you can, then put your right shoulder out to make contact with the ball, and finally show your elbow to the opponent to finish. This series of "returning movements" is very important and is a decisive difference from the so-called "hand hammering", which is the main cause of tennis elbow.
It is also important to "start moving to show the left shoulder to the other person", and the point is to convey all of that energy to the right shoulder without killing it.
It is an image of hitting the ball as it is without losing the centrifugal force while feeling the centrifugal force of the racket in the movement until showing the left shoulder.
You don't start collecting power after you take back. Don't think of hitting images like a single still image. I am strongly aware that I keep the energy of the first reflection until the end.
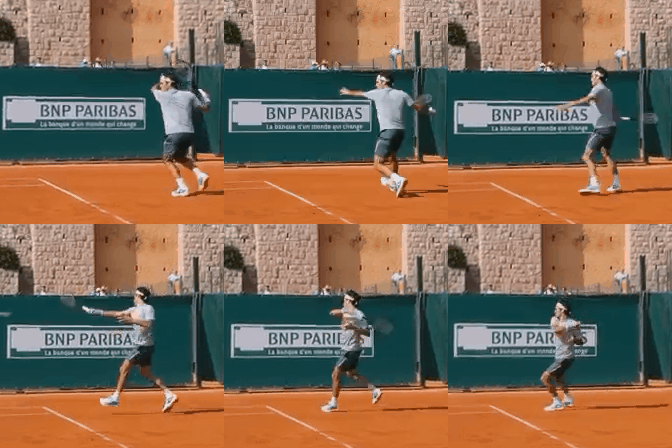
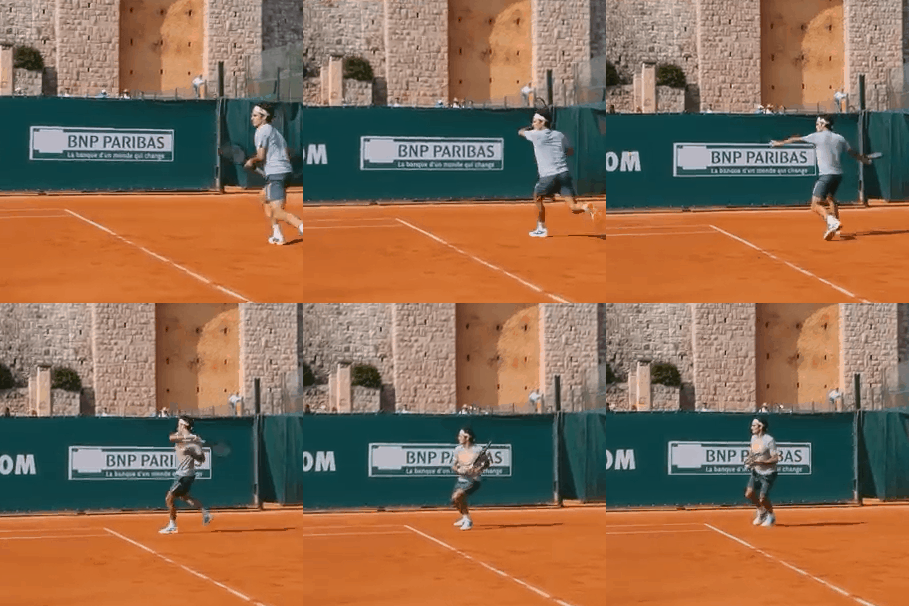
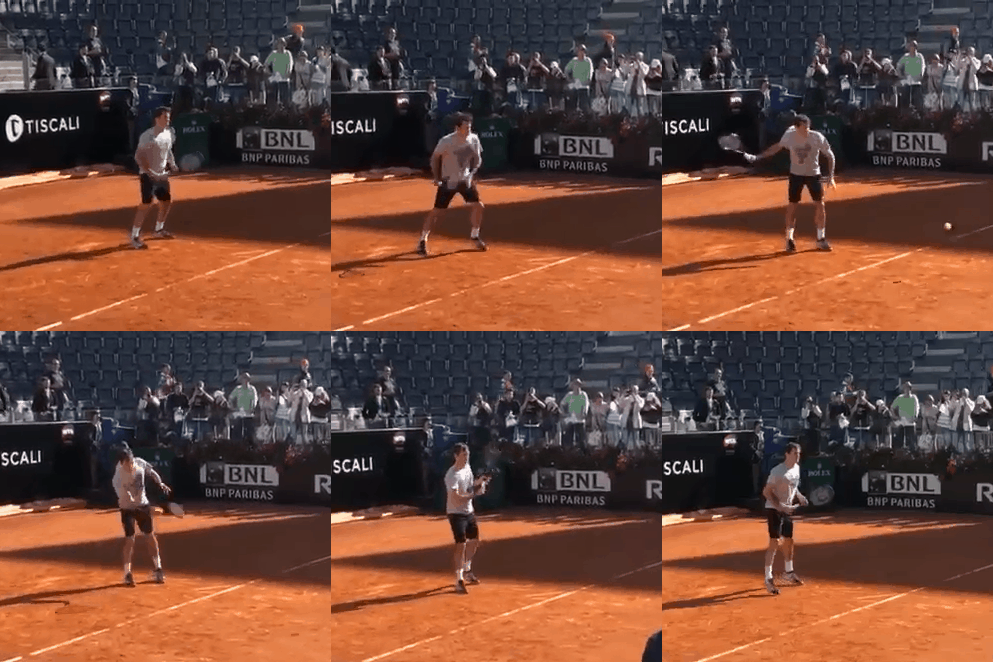
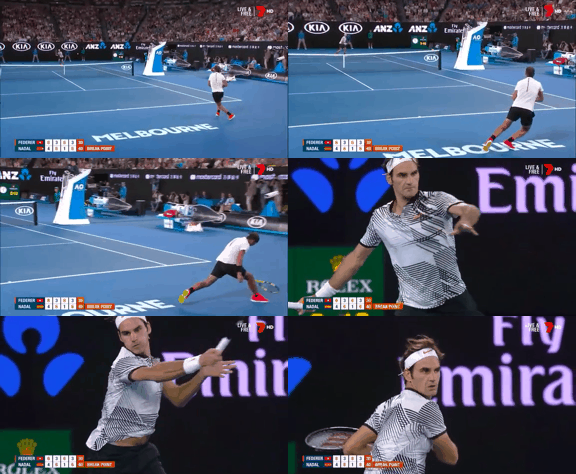
In the video, you can see that the left shoulder is kept until just before contact with the ball, then the right shoulder comes out at a stretch, and finally the elbow is showing briskly. Also make sure that the racket itself never stops at one point.
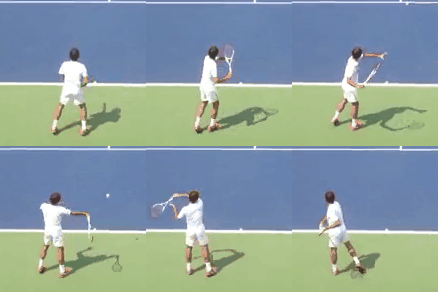
(* In the video taken from the side, you can see that the racket is momentarily stopped, but when viewed from directly above, you can see that it is actually moving due to the circular motion. ↓ 3D It would be nice to have an image of.
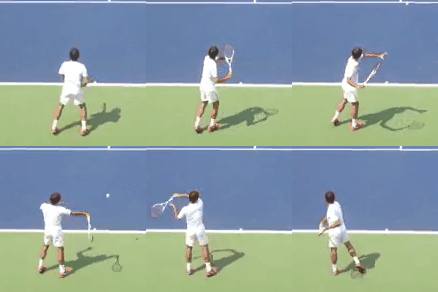
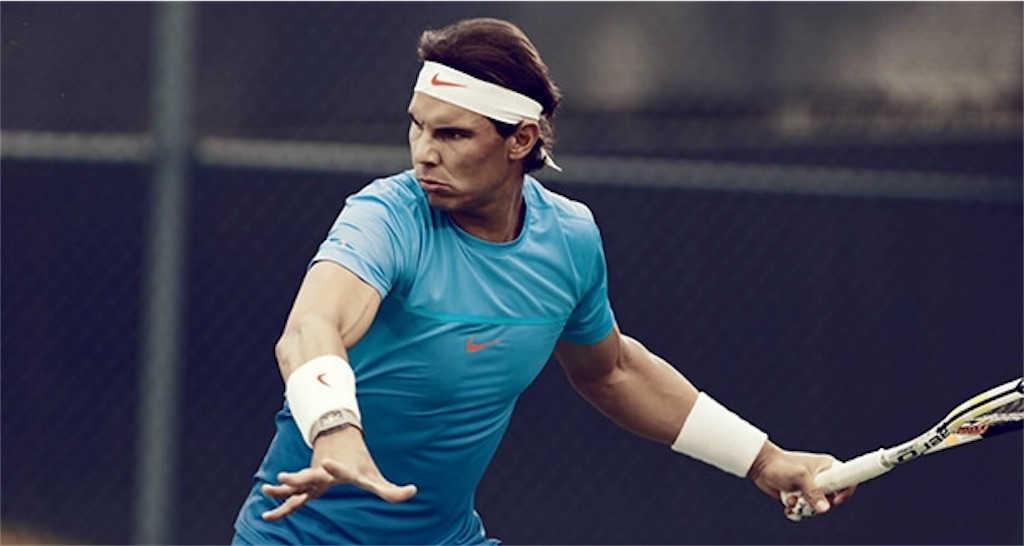
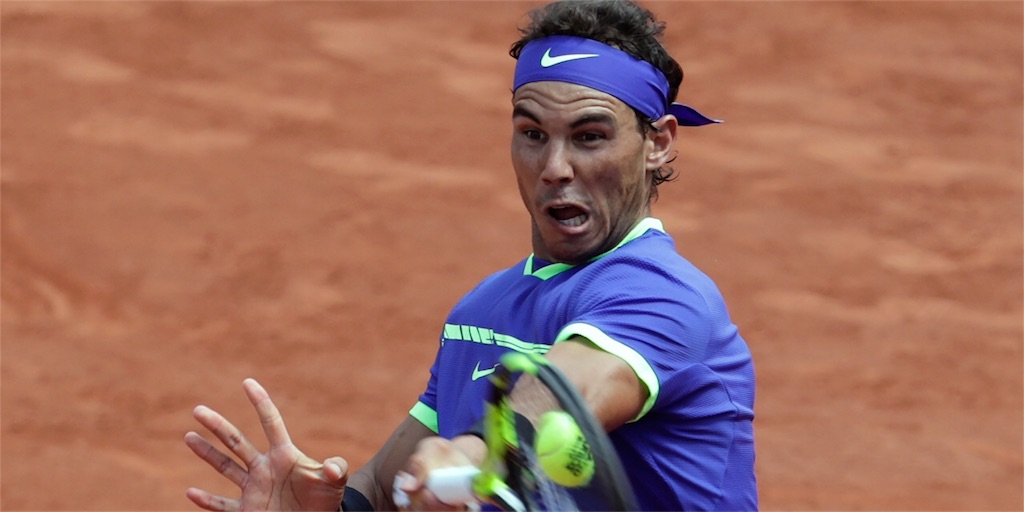
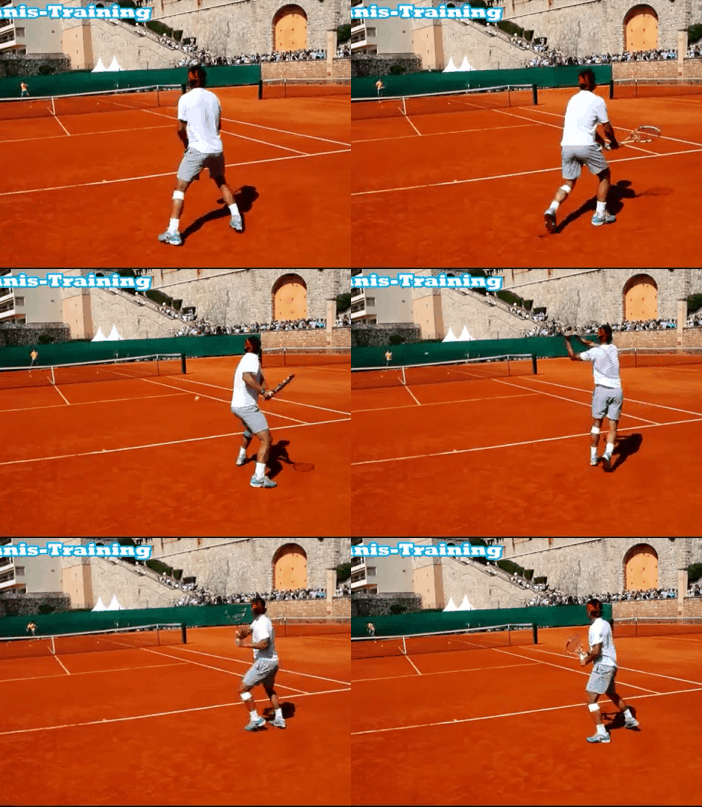
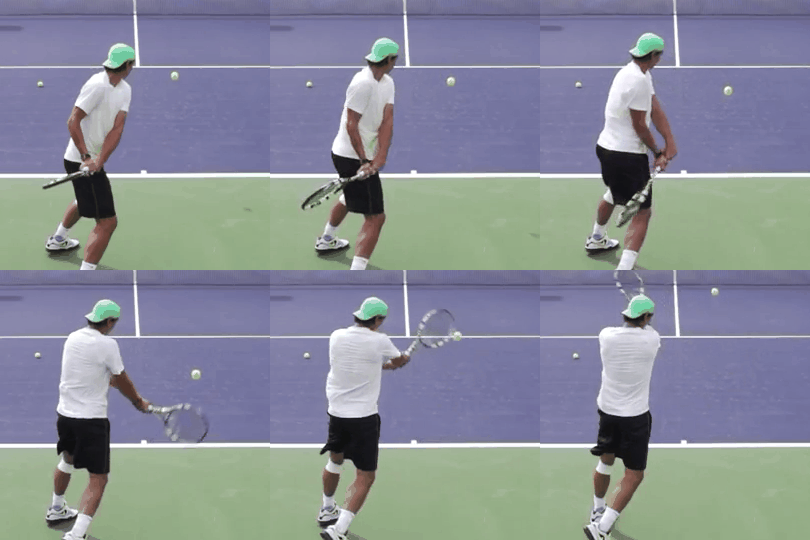
Nadal is also showing his shoulders.


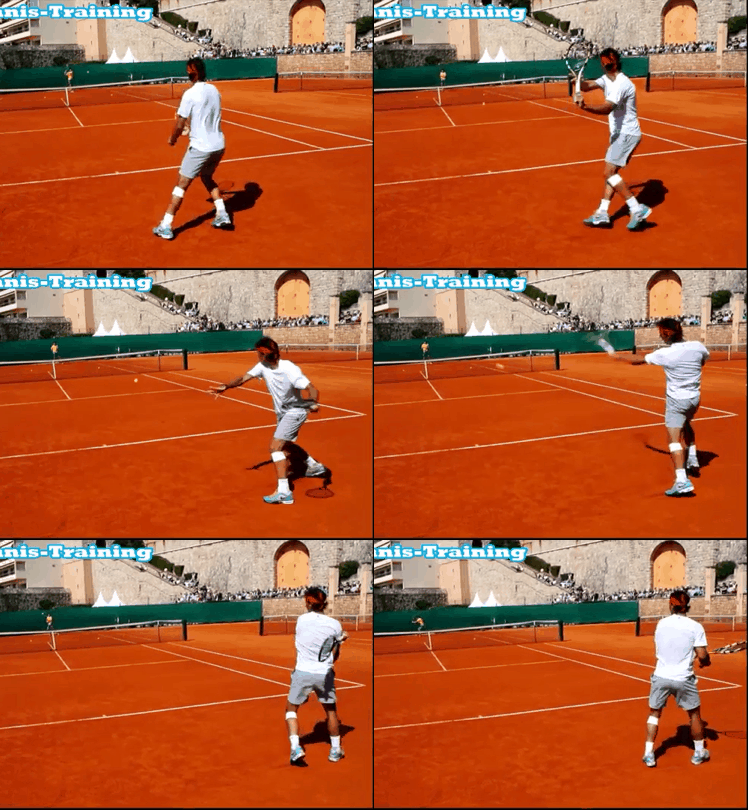
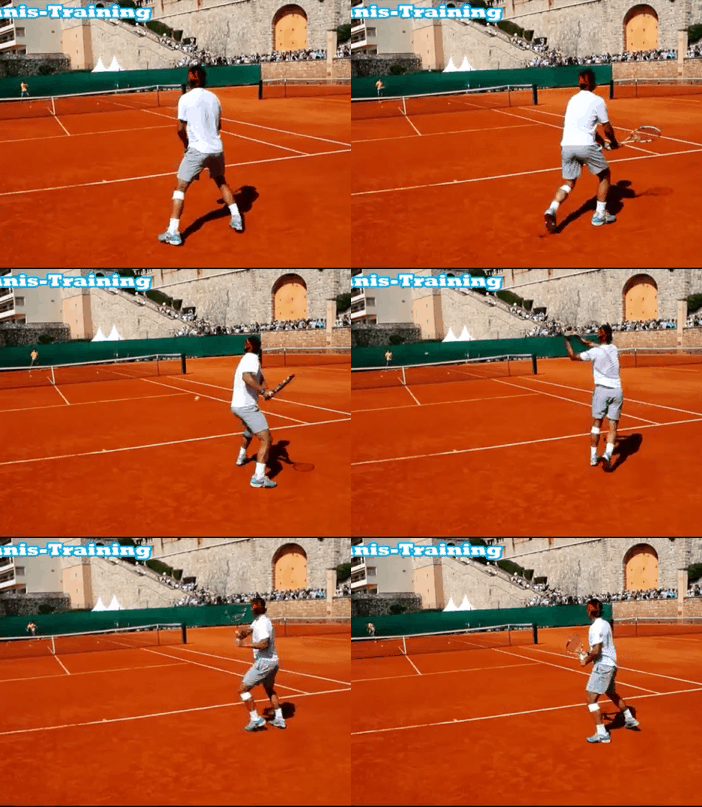
Image of palm
As an important point, I will explain the image of the palm.
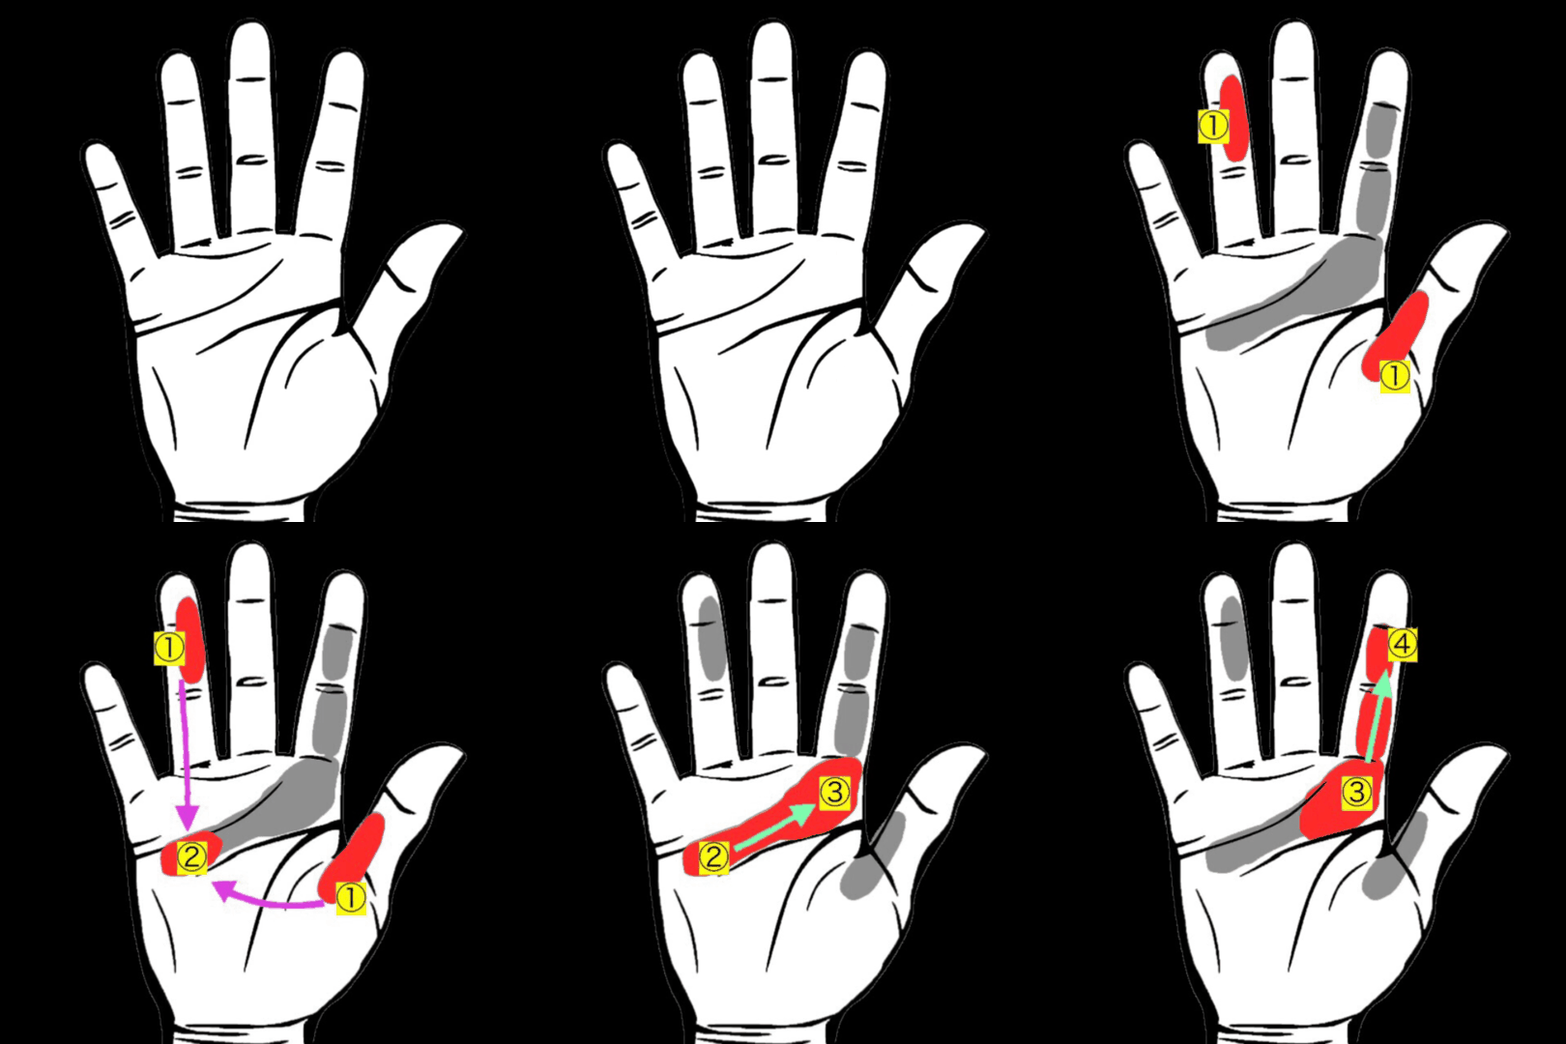
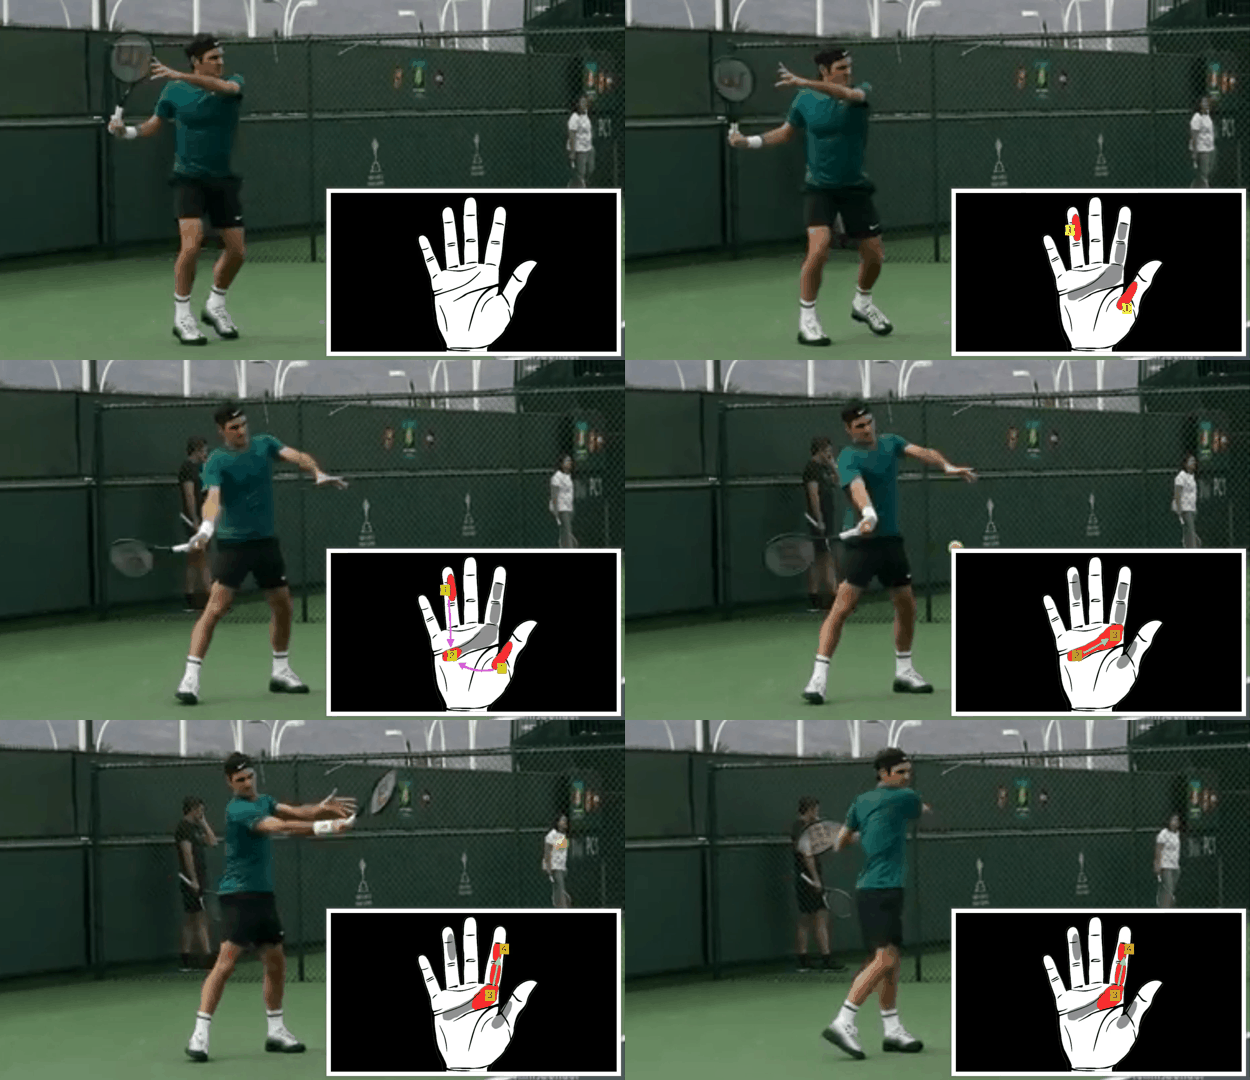
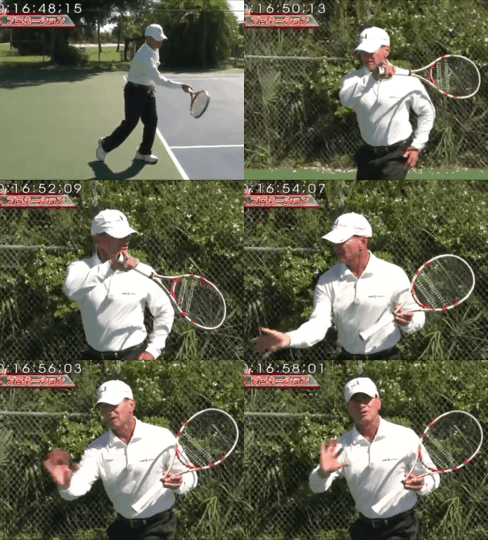
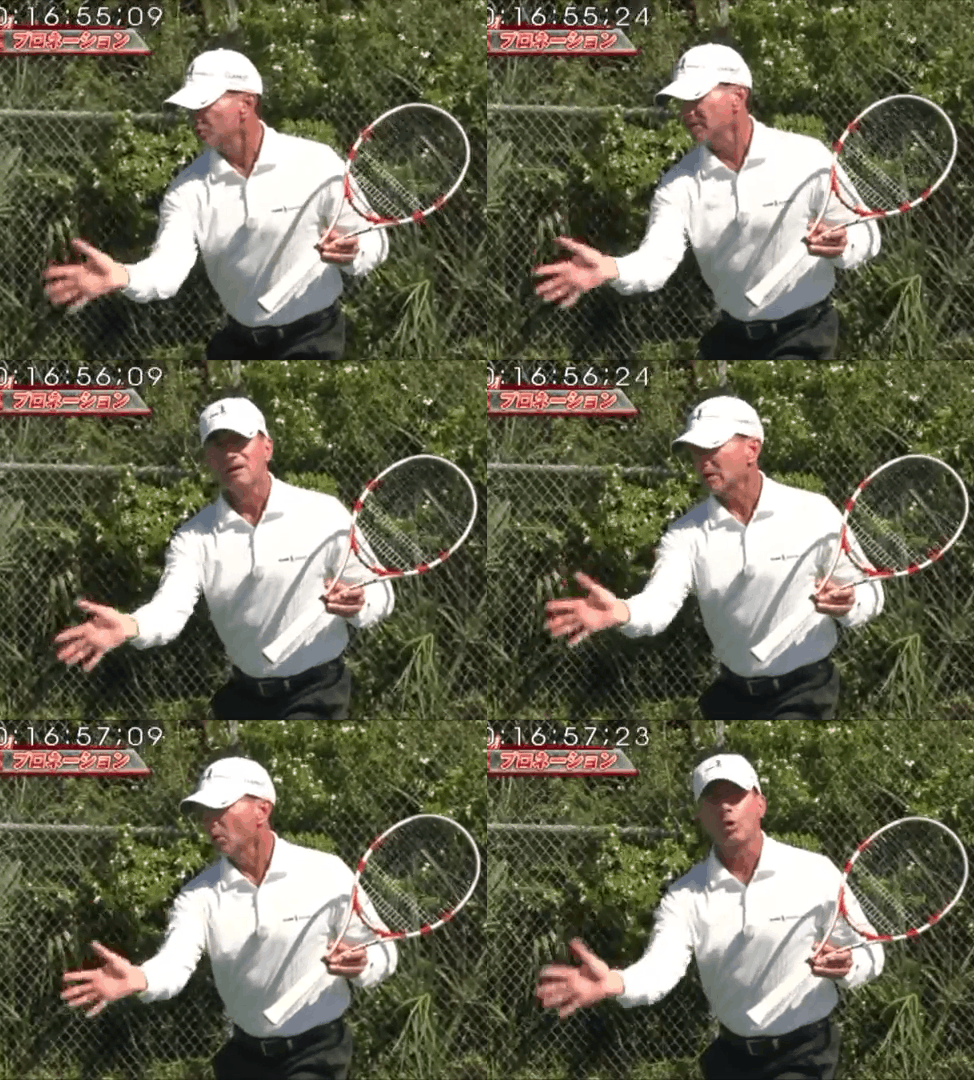
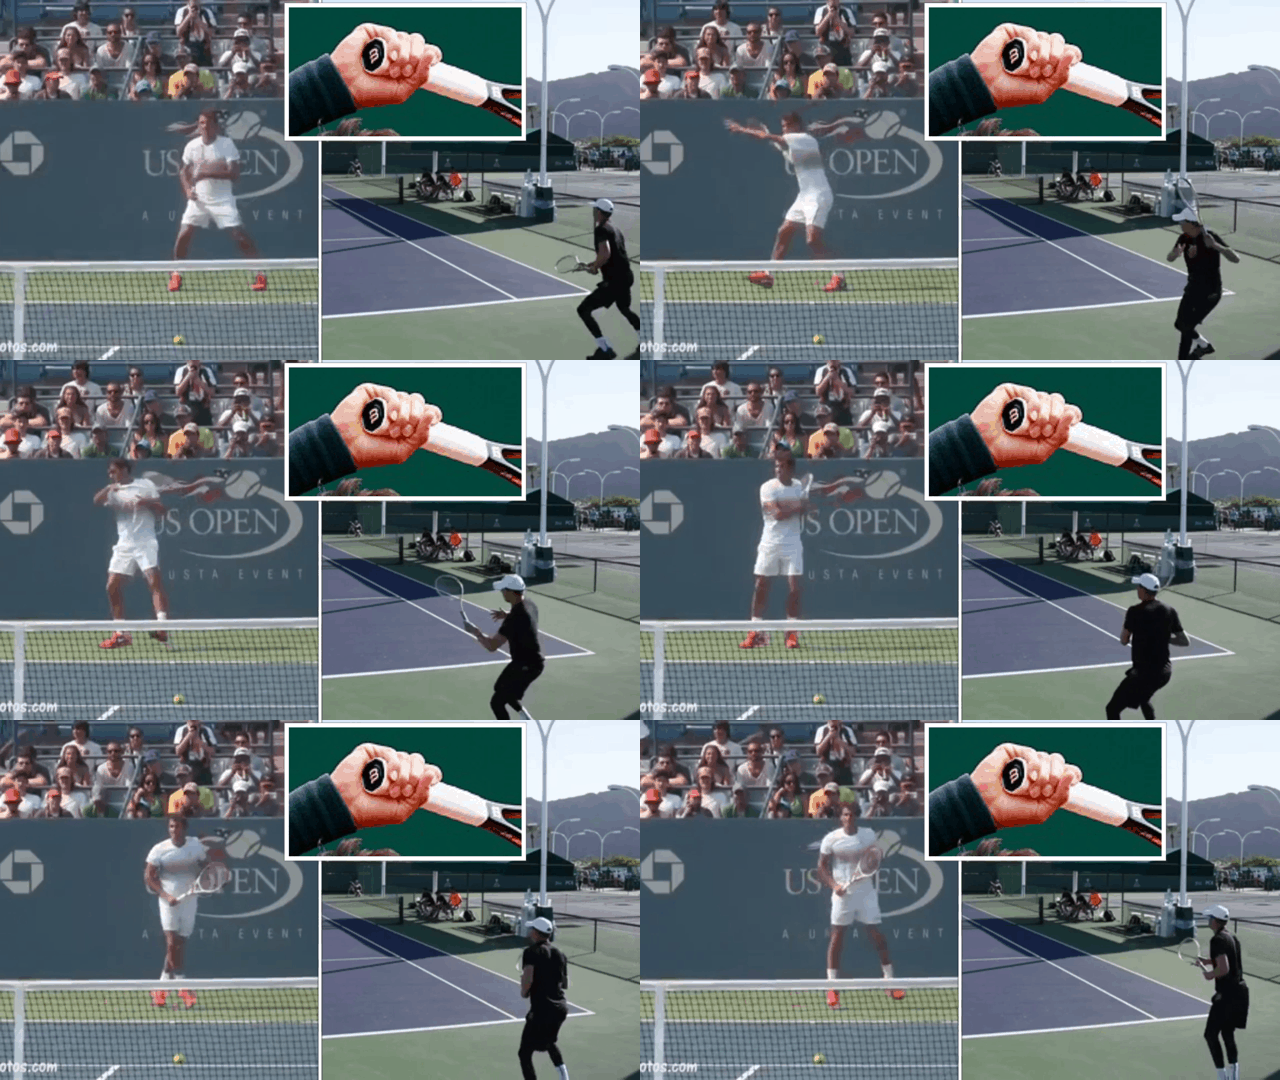
First of all, how to hold the grip, but please hold it so that your hand slightly sticks out from the grip end of the racket as shown in the image. Then, imagine the vicinity of the grip end that is in contact with the palm as one joint. There is no sense of operating the racket with your wrist.


"Ignore the presence of the wrist" is the image in the upper right. Think of it as a mechanical grip on your palm. Imagine the part where the grip is touching = the "palm" as the fulcrum of racket movement.
"Do not intentionally move your wrist."
Always be weak and don't interfere with the "natural range of motion",
You must avoid bending your wrist inward as shown in the figure on the right.
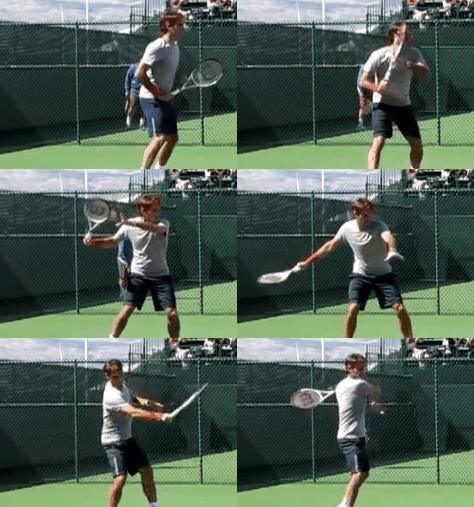

Federer appears to twist his wrists in appearance, but he doesn't.
Although his arms are weak, he is acting flexibly, but the strange habit of twisting his wrist is fatal on the Pro Tour.
It is necessary to stabilize the wrist by making good use of the centrifugal force applied to the racket so that it does not shake just before it strikes.
"Slap" image
I will explain the contact image with the ball.
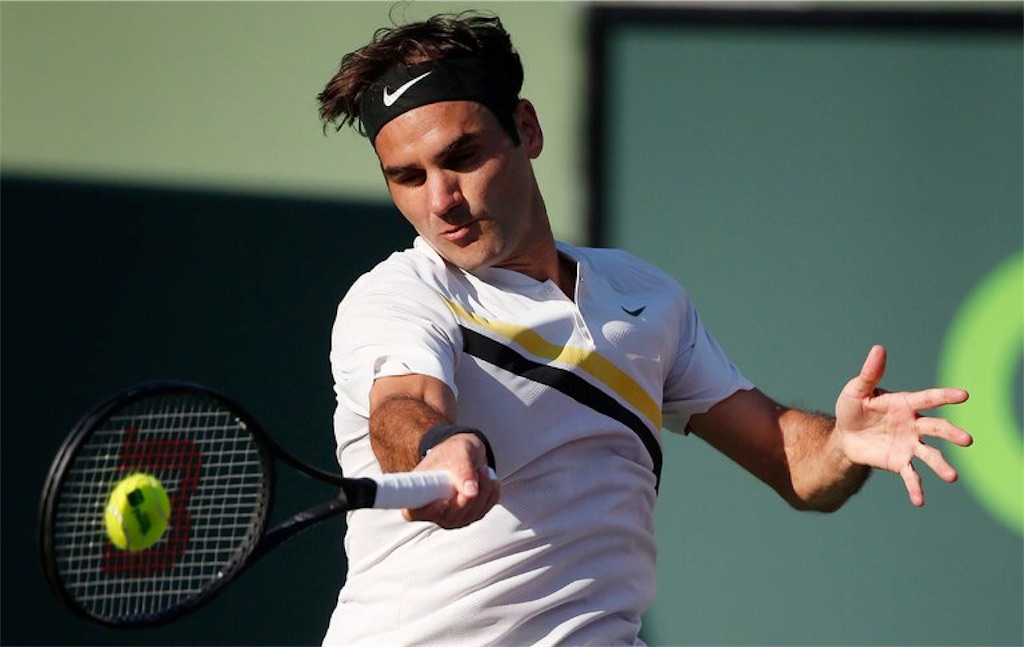
The image of the ball is not the "push" image, but the image of entering the ball next to the ball and rolling it in while the body is turning back is important. In other words, you have to stand next to the ball and hit it. “Release your wrists” and at the same time, take the image of slap the ball with “Smack!” as you relax. After impact, the racket head will come out first.
It may have been taught to "catch the ball in front", but at least Federer and Nadal are hitting the ball with the image of rolling the body from the side only. The image of "stiffening and pushing your wrist" cannot be combined with weakness because your wrist is inevitable.
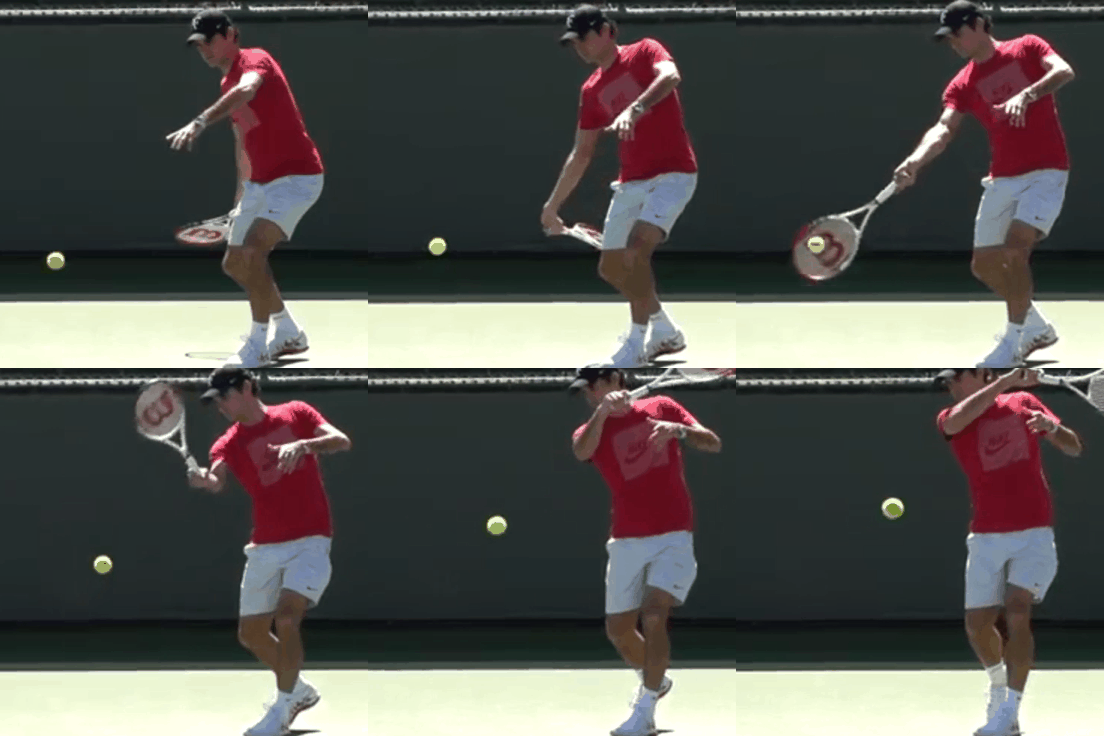
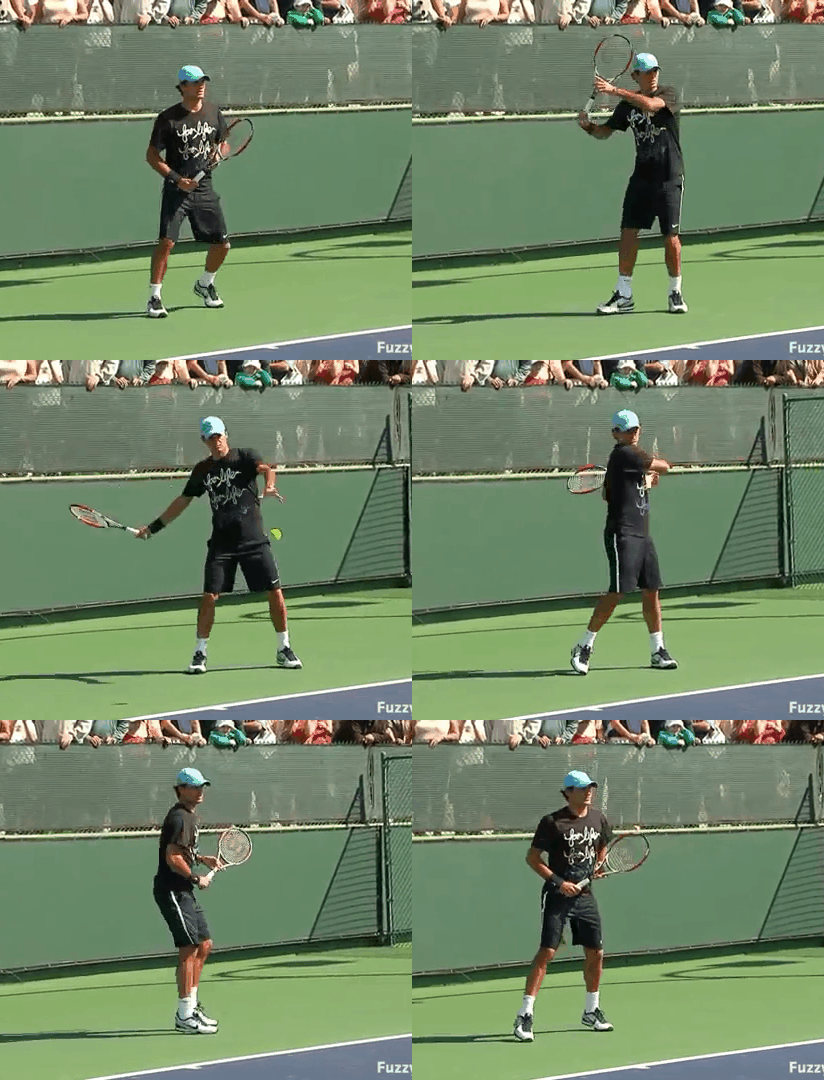
For a contact image of this ball, please refer to this video by Tennis Biz.
You won't forget it once you see it. This is the basis for everything.
https://youtu.be/aKyvV08WT7g
The swing until hitting the ball is not the trajectory image that tries to apply drive rotation,
It is an image that "the side of the racket facing sideways" is taken "backward" by taking back with the palm of the hand as the fulcrum (wrist is ×).
With this, the ball is rolled up with the image of "Smack!" and slap.

Please watch the above video again. Please feel as if you are turning the racket face in the middle of the palm. It is an image that turns freely by centrifugal force.
"I put my left shoulder until just before the contact, and then I put out my right shoulder and my arm came out to the front, and the racket slapped the ball around the palm as a fulcrum."
At that time, there is no recoil in the entire arm. (There is a slight recoil in the palm.)
Just like a cowboy throwing a lasso, he maximizes centrifugal force using the image of a slapper throwing a racket far away.
The following video is from Split Step. Image training is performed so that you can perform a series of actions from where you chase the ball.
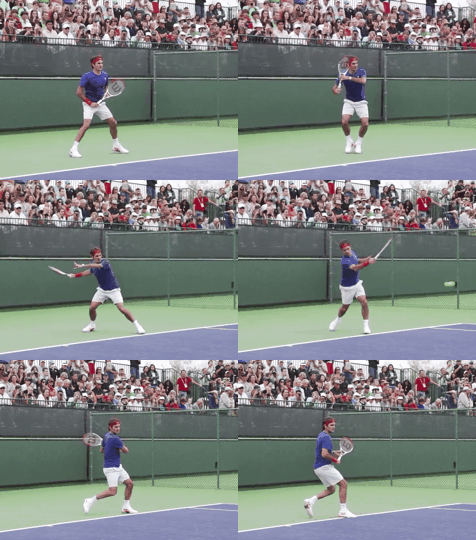
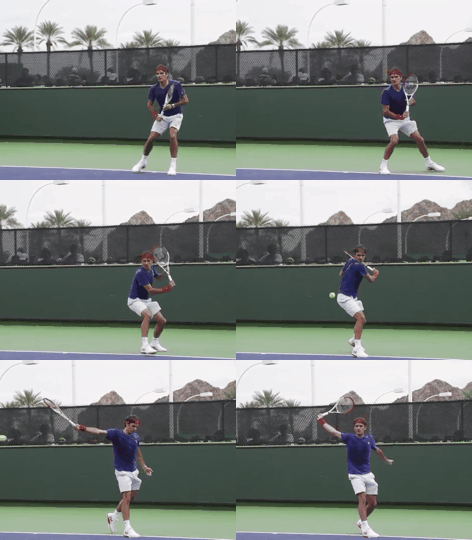
Image of take back
I will explain the action (takeback) image that shows the left shoulder in a little more detail.
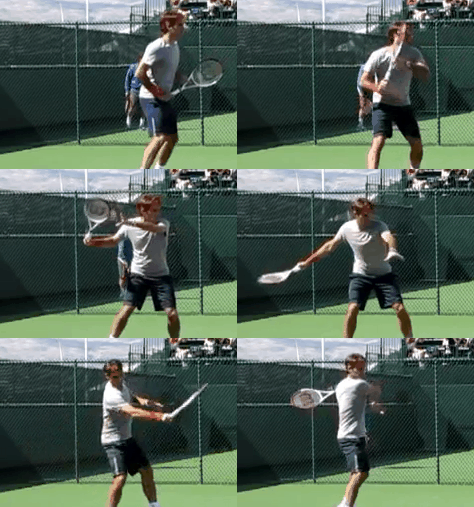
The figure on the right shows the image of takeback.
Imagine that there is a temporary "iron core" in the arm and the center of the racket beyond the elbow.
Imagine "only" when pulling the racket.
The "iron core" is naturally retracted from behind the elbow as if it was being gently pulled by someone.
At this time, the "circular movement of the "iron core" around the elbow" naturally occurs.
By starting the turning motion in the middle of this circular movement, the arm extends "naturally" and leads to the slapping.


Image of follow-through
Next, I will explain the action (follow-through) image of showing your right shoulder.
The point is to show the palm to the opponent immediately after "Slap". It's just a moment.
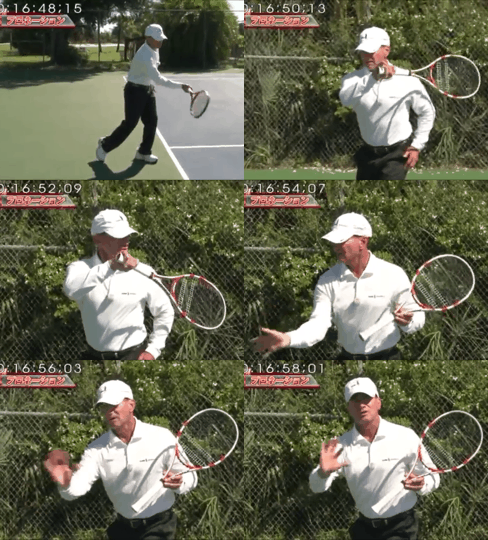
This is sometimes referred to as the wiper swing.
You must become a wiper swing with "natural propulsion". It is not "moved from yourself" like a wiper.
It is a phenomenon that occurs naturally due to interlocking with weakness.
As a result of the swing's propulsive force, the result is that it looks like a wiper-like swing.
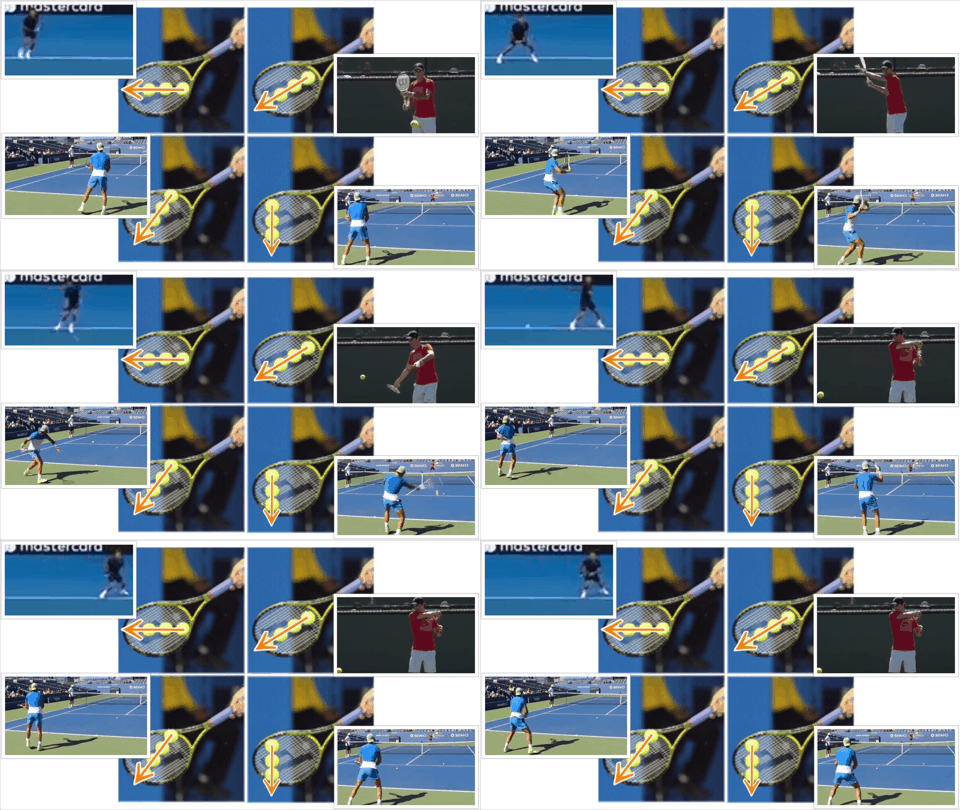
Next, I will explain the image of flying the ball after "Slap".
Here, we will introduce the image of "cutting the racket surface with a ball."
The figure on the right shows four types of images.

①Competitive chamfering that does not lose to any ball
Basically the racket "I hit it so that it touches the extension of the grip.
"On the extension line of the grip" is a position where you cannot escape from any physical impact, so it is hard to lose the ball power.
Also, if you can catch the ball at this position, you can choose the distribution direction of straight and cross "just before" when the racket and ball come into contact.
In other words, it is possible to reverse the thinking of the opponent player because the distribution direction is a touch that is difficult for the opponent to read.
This is a technique that can be achieved by combining the "weakness slapping" of the palm and the "1" chamfering.
The rotation is snap back and follow through, so it will naturally take place, so always apply it flat.
② & ③ Chamfering that changes the ball
Many people may play tennis with this image. If the basic is the image of ②,
It is recommended to use the touch method of ① as a basis.
The chamfers of ② & ③ touch the ball at a place outside the range of “on the extension of the grip” of ①, so it is easy for the racket to have “face blur”, but it is a medium to large rotation on the normal track You can add orbit changes by. (*It is assumed that the ball launched has a strong power. The reason is related to the "snapback phenomenon".)
④Chamfering that changes with rotation when there is room
It is inferior to (1), but it is the second most competitive facet.
Compared to (1), the surface is easier to shake, so it is easier to apply forward rotation. Please apply flat to this as well. If you try to apply rotation and forcibly create an unnatural movement that ignores the flow of nature, the rotation will not be applied.
For further evolution
From here, we will provide reference information for further steps.
About the snapback phenomenon
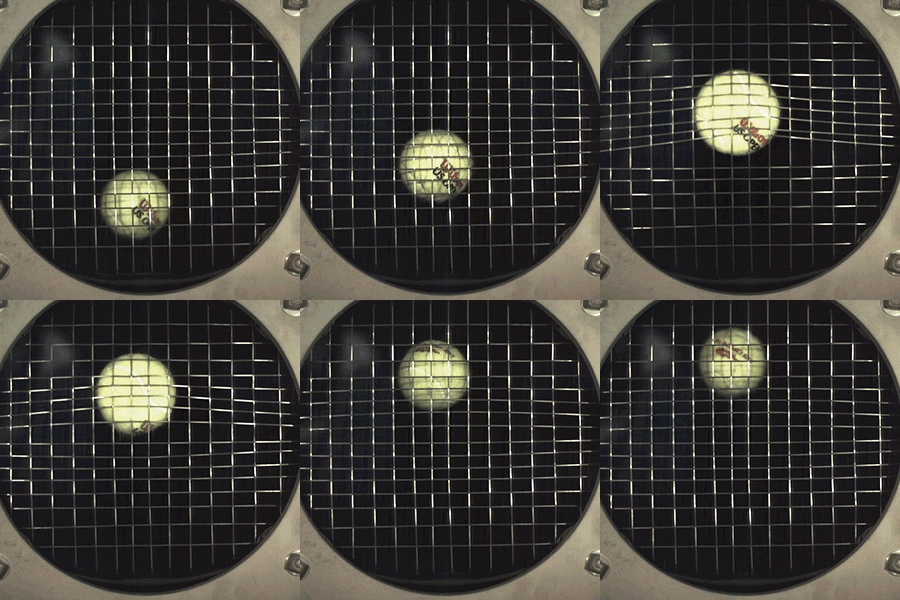
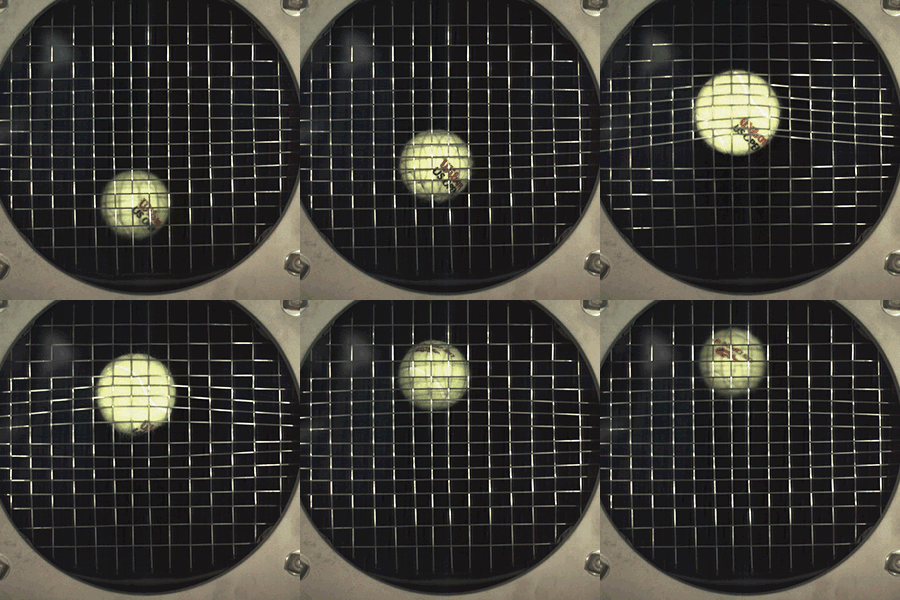
The phenomenon that the string flexes when the ball strongly contacts the racket surface and returns again
We call it snapback.
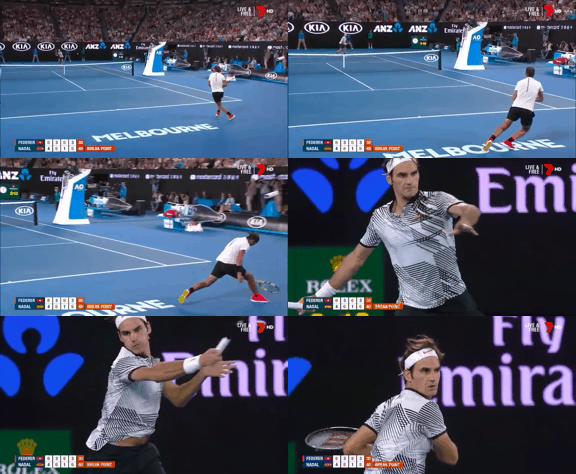
Federer and Nadal control the ball by touching the racket vertically.
The image of "vertical contact" is apt to be a "flat ball", but if the ball is hit hard and the ball is crushed, the rotation of the ball will be done by the bite of the string (snapback). takes. The amount of rotation can be freely manipulated in a follow-through manner.

For Federer and Nadal players, the basic method is always to “smash the ball”.
Make sure they hit the ball before doing the follow-through.
It can be imagined that the ratio between the crushing motion and the follow-through motion that applies rotation is approximately 8:2. This consideration is based on the idea that "the consciousness of the swing trying to rub up" will not give the ball power like Nadal player.
In order not to blur the axis
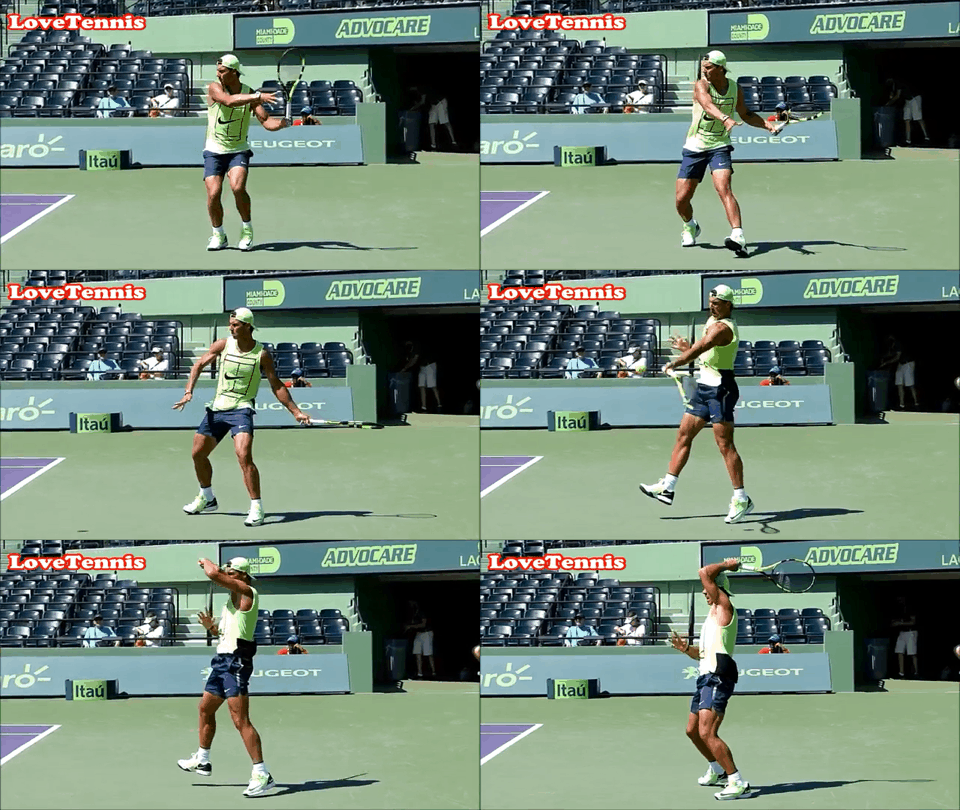
It is possible that the axis is not maintained in the body as a cause of the ball not hitting vertically.
One of the ways to keep the axis is to "leave your face" at the time of impact.

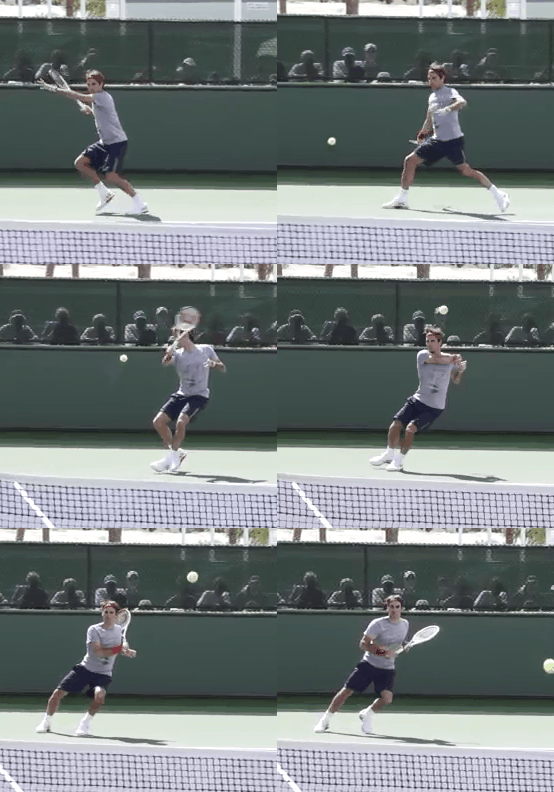
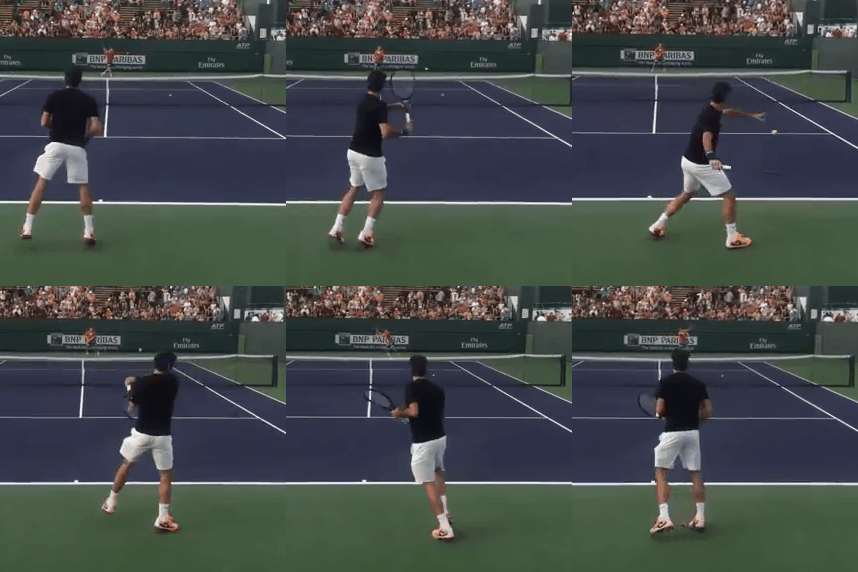
"Leaving your face" means keeping your face facing the racket face and the point where the ball hits (= trying to face in the opposite direction of the body rotation). Until you get used to it, you should keep your head on until the follow-through is complete.
The "rotational force of the body" is countered by the "revolutionary force of the head". Since the body stays in a well-balanced position, you can prepare for the next ball without any load.
How to approach the ball (footwork)
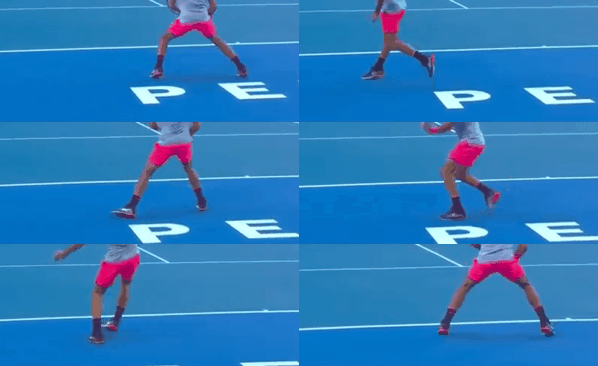
If it is difficult to hit the rack vertically, it is better to devise how to approach the ball before considering how to handle the racket.・If you are worried about how to get close to the ball or how to keep the distance, please try "Double Rhythm (Footwork)".
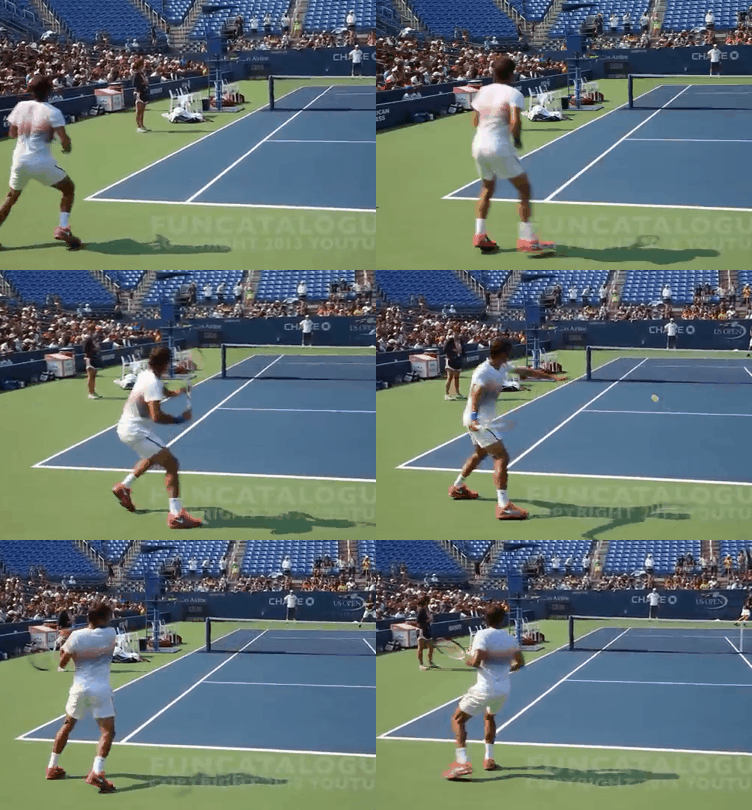
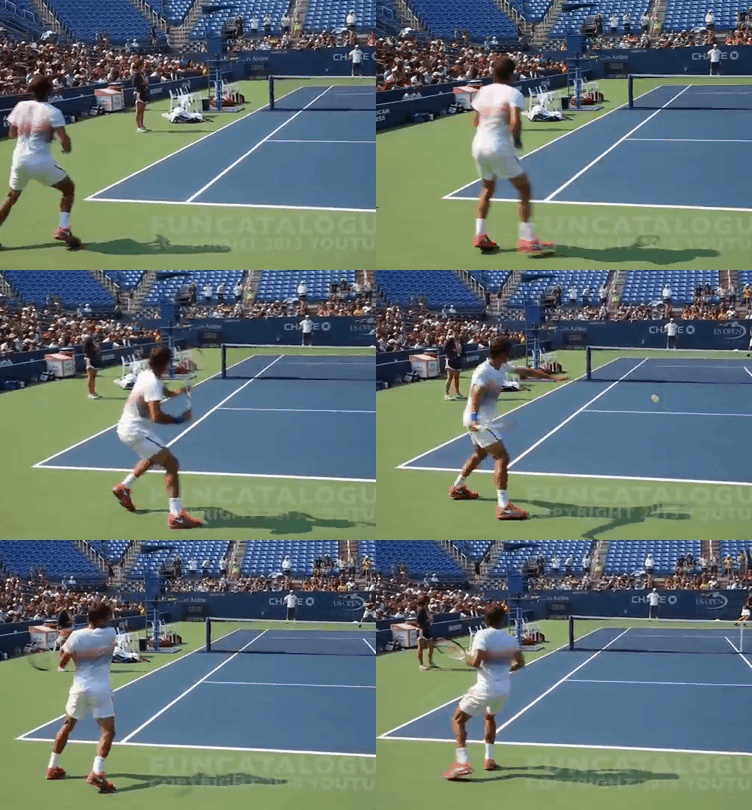
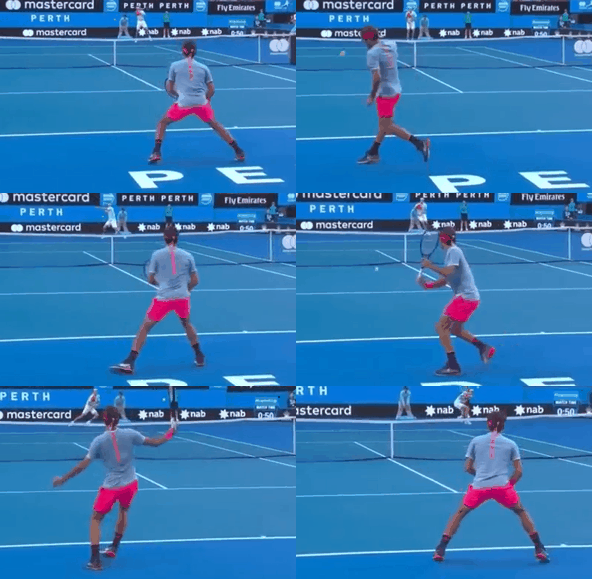
Double rhythm (footwork) is a step that adjusts the distance to the ball in a rhythm called "ton ton t ton t".
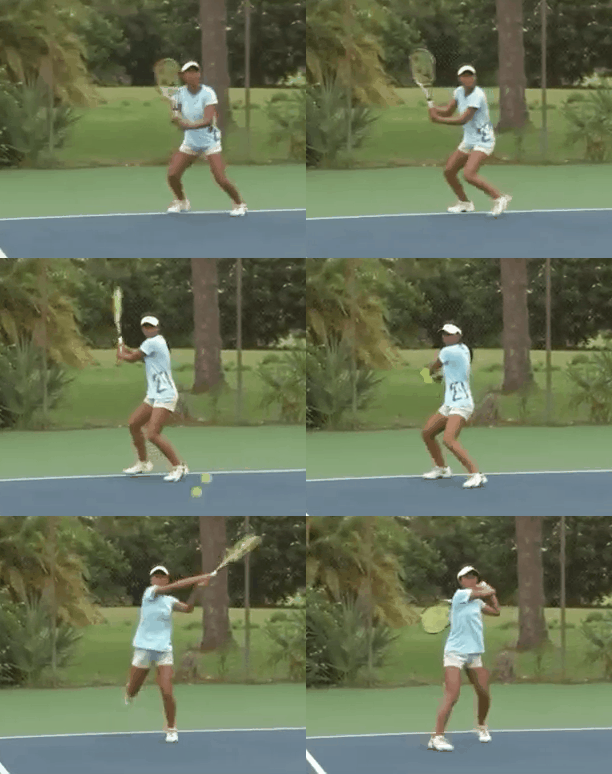
These are the steps being performed at IMG Academy (Mr. Gabe Haramiro) who produced Andre Agassi, Maria Sharapova and Kei Nishikori.
The purpose of this step is to fine tune the distance.
By incorporating this step, it is possible to eliminate a slight distance error from the ball. If the sphere is flowing sideways due to the influence of the wind, or if the sphere's landing point is mispredicted, this step can be corrected instantly.
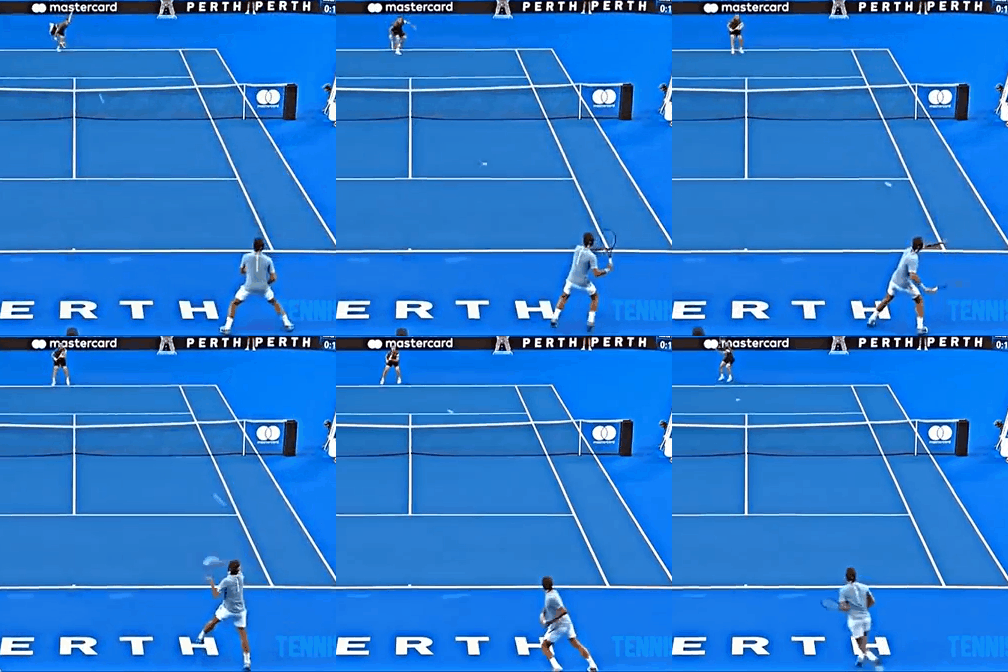
Federer players also use this step firmly.
About strings
With old string gut, the friction between the strings is so strong that the strings will not move back after being hit. With this, the snapback phenomenon does not occur, the ball does not fly in the desired direction, or the spin does not occur as intended, and the ball falls off the racket surface.
This is not due to lack of control of the ball, but to the bad condition of the strings.
If you would like to eliminate that phenomenon, please visit Tennis One's link↓
https://www.tennis-one.jp/wp/gut-live/
A description of the snapback mechanism is included, and you can purchase a friction reduction liquid between strings called "Gutlive" for less than 3,000 yen.
By using this in every practice, the string will move like a new one, so mistakes due to inadequate rackets will be eliminated and practice will be efficient.
Simple image summary
(1) Left shoulder → right shoulder → look back action showing elbow
(2) Roll the ball around with your palm as a fulcrum with a weak slinger.
(3) Takeback has the image of "iron core" from the elbow to the tip
(4) Follow-through is an image of cutting the racket surface with a ball, showing the palm of your opponent for a moment.
At the end
So far, I have explained the image of how Federer and Nadal hit, but in reality, there is no shortcut to improvement other than accumulating image training and practice. In practice, it is important to correct the image while comparing it with the video you are playing. I hope you will improve your skills.






 →横
→横